Interwoven Hat
The deadline to donate your blue hats to Lion Brand for their Hat Not Hate campaign is fast approaching, and I’ve got a brand new pattern to give you some inspo! The Interwoven Hat is a classic beanie-style toque with a special message: the blue base represents awareness and solidarity, while the braided cabled panel illustrates people of all backgrounds woven together in harmony. We may all be on different paths, but we are all connected and need to support each other. Whip up an Interwoven Hat proudly to wear proudly yourself or donate to Lion Brand by August 1st to help them reach their goal of 25,000 hats to provide to schools across the country. Don’t forget to share your projects with #HatNotHate! Scroll down for the free Interwoven Hat pattern, or purchase the printer-friendly PDF here.
The Interwoven Hat joins the Avalanche Hat (released last week) and the Peace Hat (released last year) as my third free pattern designed for the Hat Not Hate campaign. I love the craftivism component of this initiative to end bullying, and it’s been so fun to conceptualize each design in a way that speaks to the movement. I shared some statistics about bullying in my blog post for the Avalanche Hat, which you can check out here. This is such an important campaign and hope we can help Lion Brand reach their goal!
Send your blue hats to Lion Brand at this address:
Hat Not Hate
Lion Brand Yarn Co
140 Kero Rd
Carlstadt, NJ 07072
Requirements: hats must be made with blue yarn and received by August 1st 2019. Please include a tag with the fiber content of the yarn you used for those with allergies.
Why blue? Blue represents awareness, peace, and solidarity.
GET ALL THE BLUE YARN YOU NEED FROM LION BRAND HERE.
This is an intermediate level knitting pattern and the techniques involve the knit stitch, purl stitch, cabling, and working in the round.
MATERIALS:
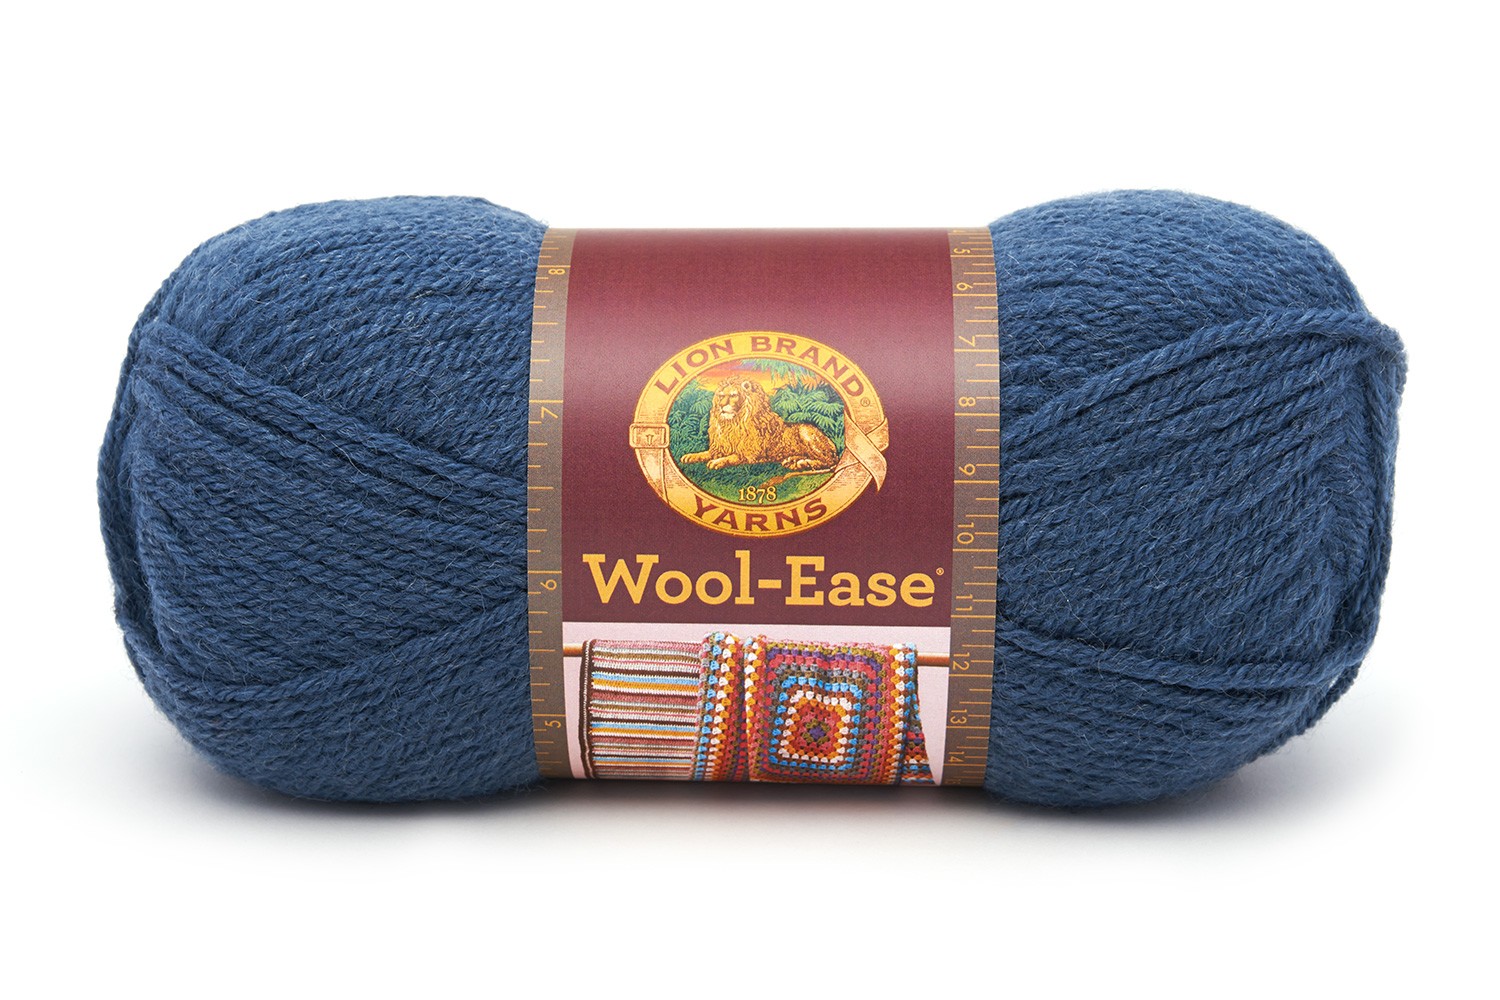
1 skein Lion Brand Wool-Ease in Denim
Size US 8 (5mm) circular needles, 16”/40cm long
Cable needle or spare double pointed needle
Stitch markers
Tapestry needle
Pompom maker (optional)
FINISHED SIZE:
Circumference: 18”/46m (stretches to fit an average adult head)
Length (un-cuffed): 11”/28cm
GAUGE:
18 sts + 24 rows = 4”/10cm in reverse stockinette
ABBREVIATIONS:
*All Two of Wands patterns are written in standard US terms
C5BKP – cable 5 back knit purl
C5FPK – cable 5 front purl knit
C6B – cable 6 back
C6F – cable 6 front
CO – cast on
K – knit
K2tog – knit 2 together
P – purl
Pm – place marker
Rep – repeat
Sl – slip
Sm – slip marker
St(s) – stitch(es)
STITCH EXPLANATION:
C5BKP (Cable 5 Back Knit Purl) – Place 2 sts on a cable needle and hold to the back of the work. Knit the next 3 sts, then purl the 2 sts off of the cable needle.
C5FPK (Cable 5 Front Purl Knit) – Place 3 sts on a cable needle and hold to the front of the work. Purl the next 2 sts, then knit the 3 sts off of the cable needle.
C6B (Cable 6 Back) – Place 3 sts on a cable needle and hold to the back of the work. Knit the next 3 sts, then knit the 3 sts off of the cable needle.
C6F (Cable 6 Front) – Place 3 sts on a cable needle and hold to the front of the work. Knit the next 3 sts, then knit the 3 sts off of the cable needle.
Note: Pattern is worked from the bottom up on circular needles.
CO 84 sts. Join in the round, being careful not to twist sts. Pm for beginning of round.
Cuff:
*K 1, P 1, rep from * around until work measures 4”/10cm from CO edge.
Body:
Round 1: P 30, pm, K 3, (P 4, K 6) twice, P 2, pm, P to end of round.
Round 2 and all even rounds: Work as established, knitting the K sts and purling the P sts.
Round 3: P to marker, sm, K 3, (P 4, C6F) twice, P 2, sm, P to end of round.
Round 5: P to marker, sm, (C5FPK, C5BKP) twice, C5FPK, sm, P to end of round.
Round 7: P to marker, sm, P 2, (C6B, P 4) twice, K 3, sm, P to end of round.
Round 9: P to marker, sm (C5BKP, C5FPK) twice, C5BKP, sm, P to end of round.
Round 10: Work as established, knitting the K sts and purling the P sts.
Rounds 11-42: Rep rounds 3-10, four more times.
Next round: K2tog around. (42 sts)
Break yarn and thread end onto a tapestry needle. Draw through remaining sts. Pull like a drawstring tightly to close hole, then knot to secure on the interior of the hat. Weave in all loose ends.
Pompom:
If using pompom maker, create pompom to desired fullness holding all four colors together.
To make by hand, cut a 12”/30.5cm piece of yarn and with palm of hand facing you and fingers pointed up, drape the length between your middle and ring fingers. Wrap yarn crosswise around and around your four fingers to your desired fullness.
Bring the 12”/30.5cm length up and around the bundle, carefully slide the bundle off of your fingers, and tightly double knot the length around the center of the bundle so that it forms a bowtie shape.
Cut through all of the loops and, being careful not to cut the two tie ends, trim and shape the pompom until it is fluffy and rounded.
Using the two tie ends, secure the pompom to the top of the hat. Secure and weave in ends.
Share your projects with the hashtag #HATNOTHATE!
Purchase the printable, ad-free pattern here.
Don't forget to share your projects made using Two of Wands patterns on Instagram with the hashtag #crewofwands so your post will get featured on my site and you'll be in the running for monthly pattern giveaways!
Check out the #crewofwands community page here.
The pattern and photographs of this design are the property of Two of Wands. This pattern and design are subject to copyright, and are for personal, non-commercial use only. You may not distribute or sell this pattern or any items created using the directions in this pattern without consent. Please visit my policies for more information.

