Peace Hat KAL
Hello everyone! Thank you so much for being a part of this extra special KAL for the Peace Hat! This beanie was specially designed for Lion Brand Yarn's Hat Not Hate campaign, which is the newest craftivism movement to help prevent bullying. Knitters and crocheters are being encouraged to make and wear blue hats throughout the month of October to show solidarity and start conversation in an effort to eradicate the bullying epidemic. The Peace Hat and this KAL are my small contributions to the cause, and it means so much to me that you're here to join me!
If you haven't checked out the pattern yet and are interested in learning more about the inspiration and Hat Not Hate, check out my previous blog post with a bit more info and the free pattern here.
You can also purchase a printable, ad-free PDF here.
Videos, photos, and updates will be added to THIS blog post each Friday of the KAL, so bookmark it now and check back next Friday for the next steps. If you'd like to sign up for the Peace Hat KAL newsletter to get notified as soon as new posts are up, click here.
WEEK 1:
This week we are gathering any last minute supplies, working up a gauge swatch if you so choose, casting on, and working the ribbed cuff. Stay tuned for next week when we will be working the body of the hat.
Don't forget to share your photos and tag #HatNotHate and #PeaceHatKal. It will help spread awareness, create a conversion, and inspire others! I'll be re-posting select images so make sure to tag me too :) I can't wait to see all of your progress!
I'll be working on a Peace Hat right along side you, and as promised I'll be creating tutorial videos and photos for those of you who are on the beginner side and need a little support. So to kick things off, please find the first video and photos below! I also have more specific tutorial videos for the following techniques available if you need even more help this week:
Casting on (not the same technique I used for this hat, but you're welcome to use this one too).
Ready to get started!? Check out my first video:
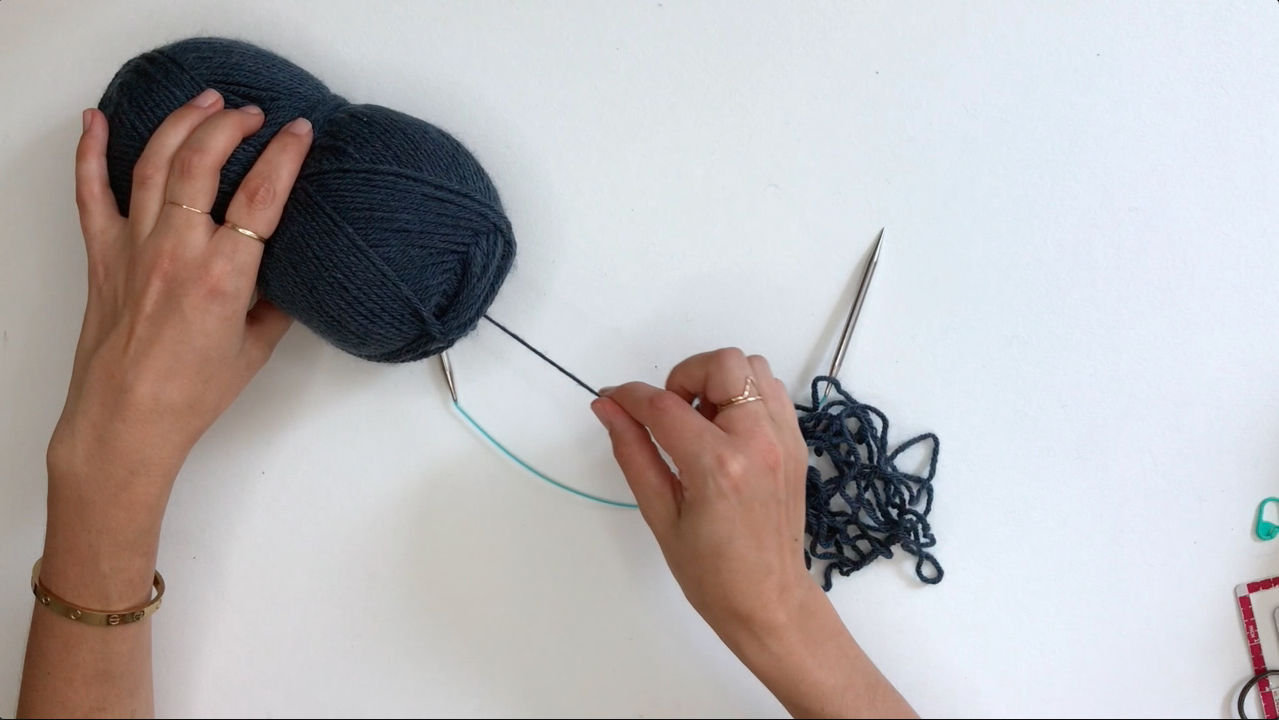
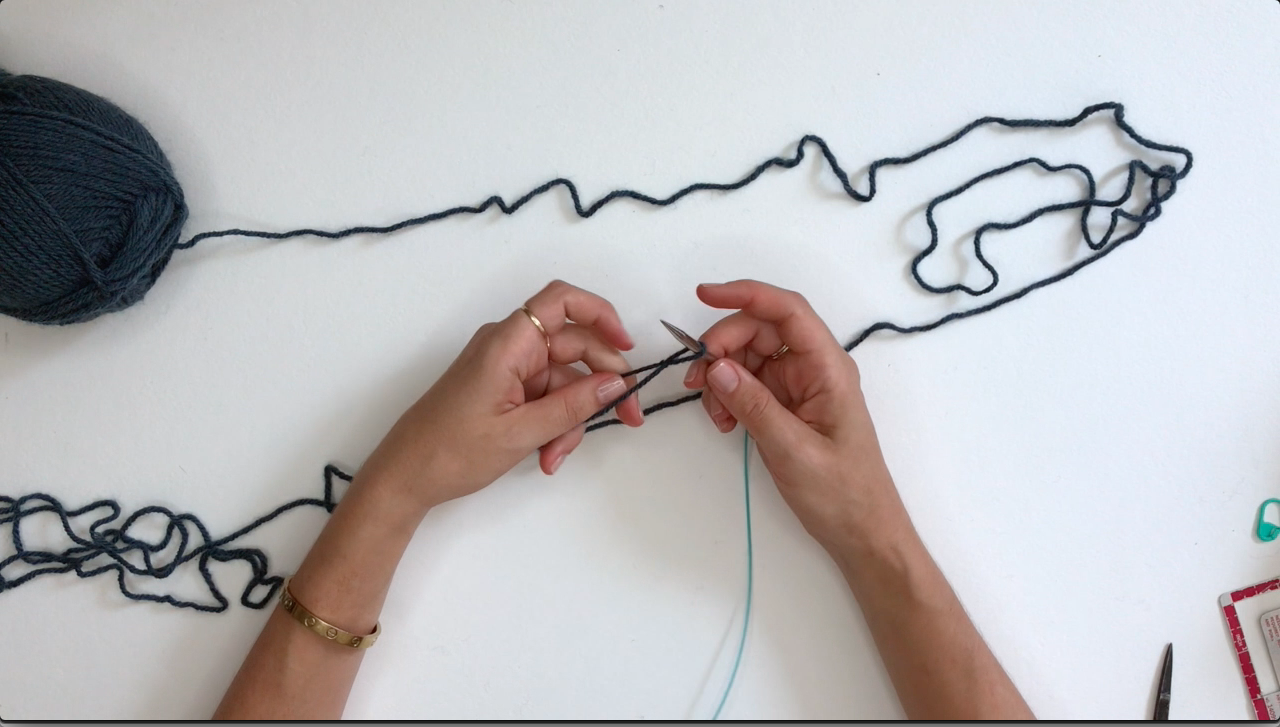
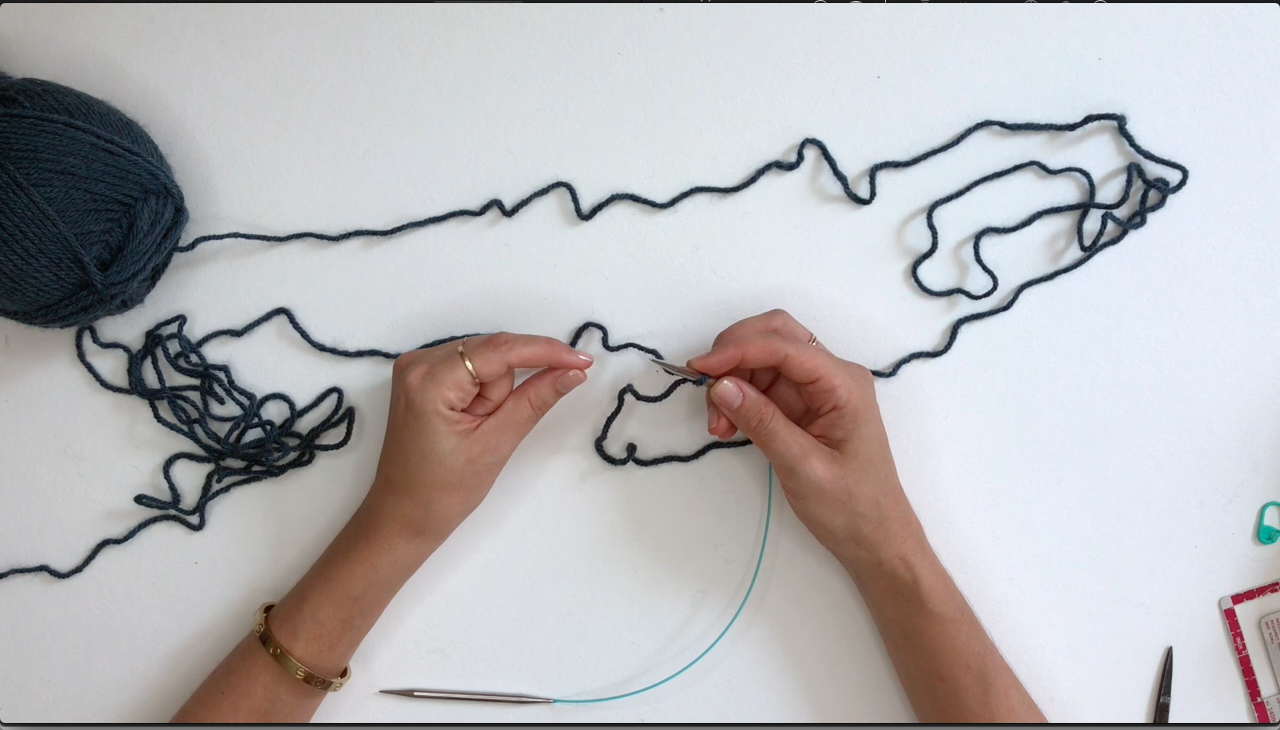
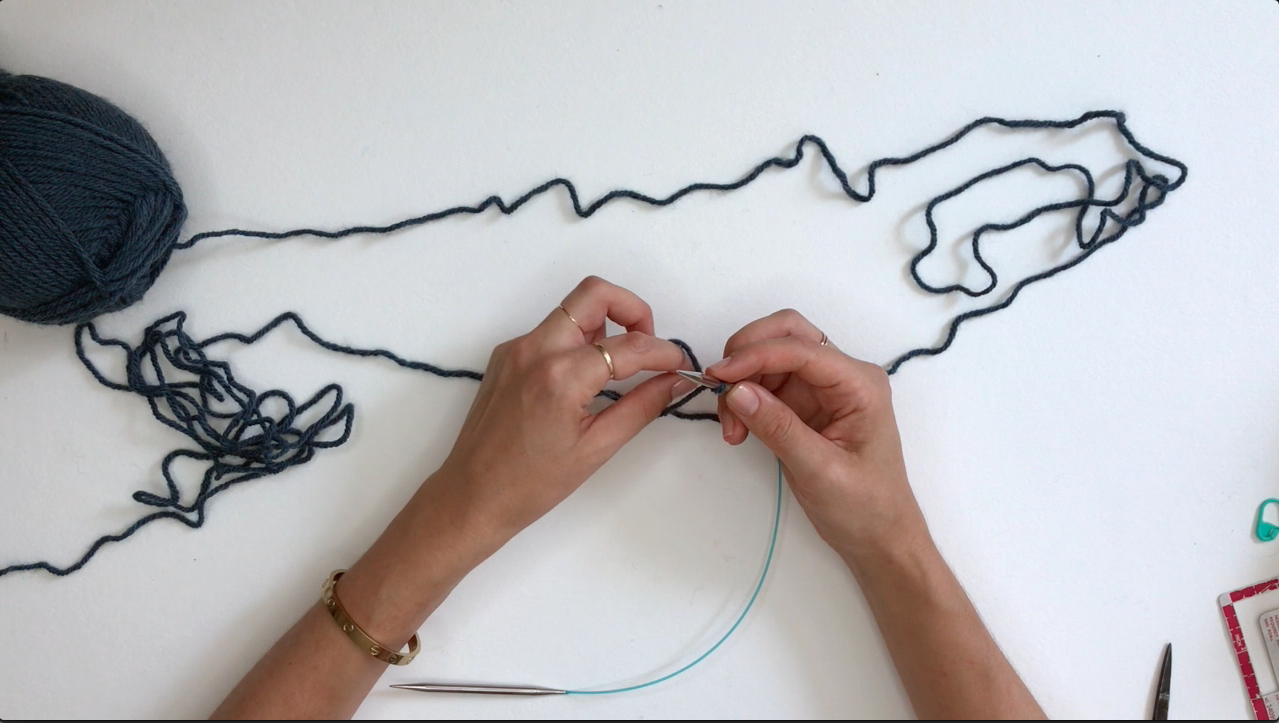
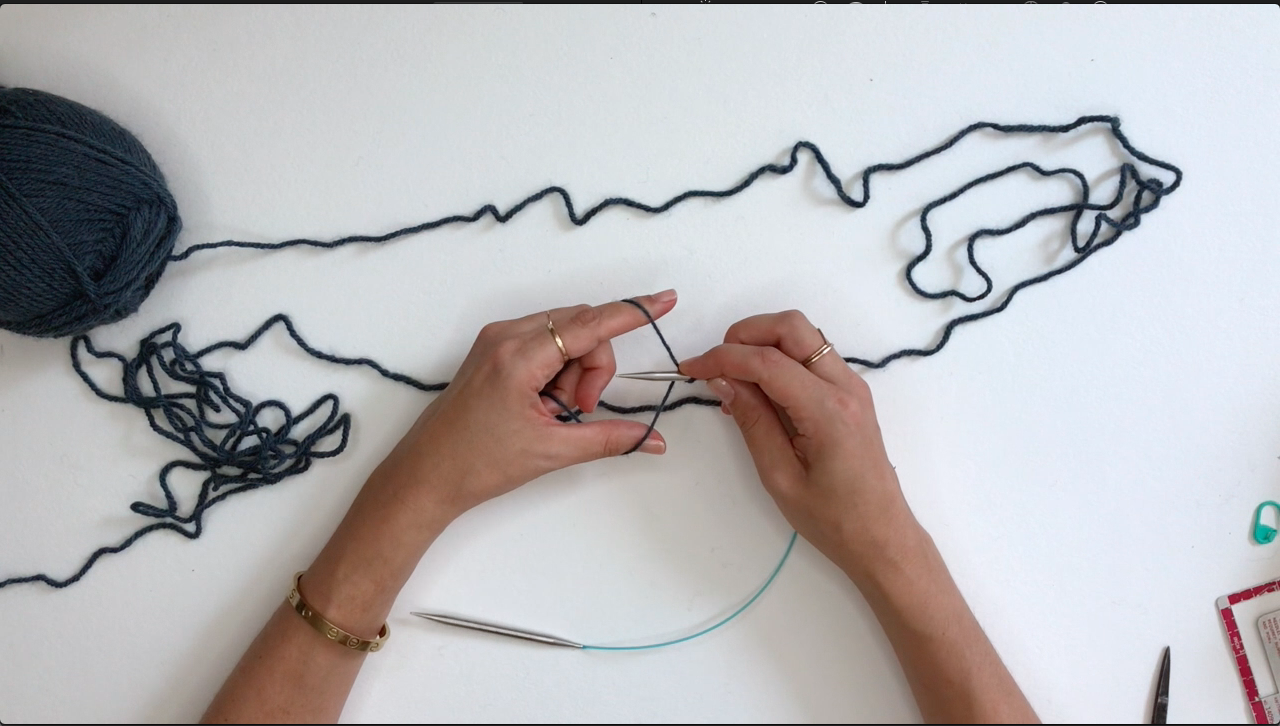
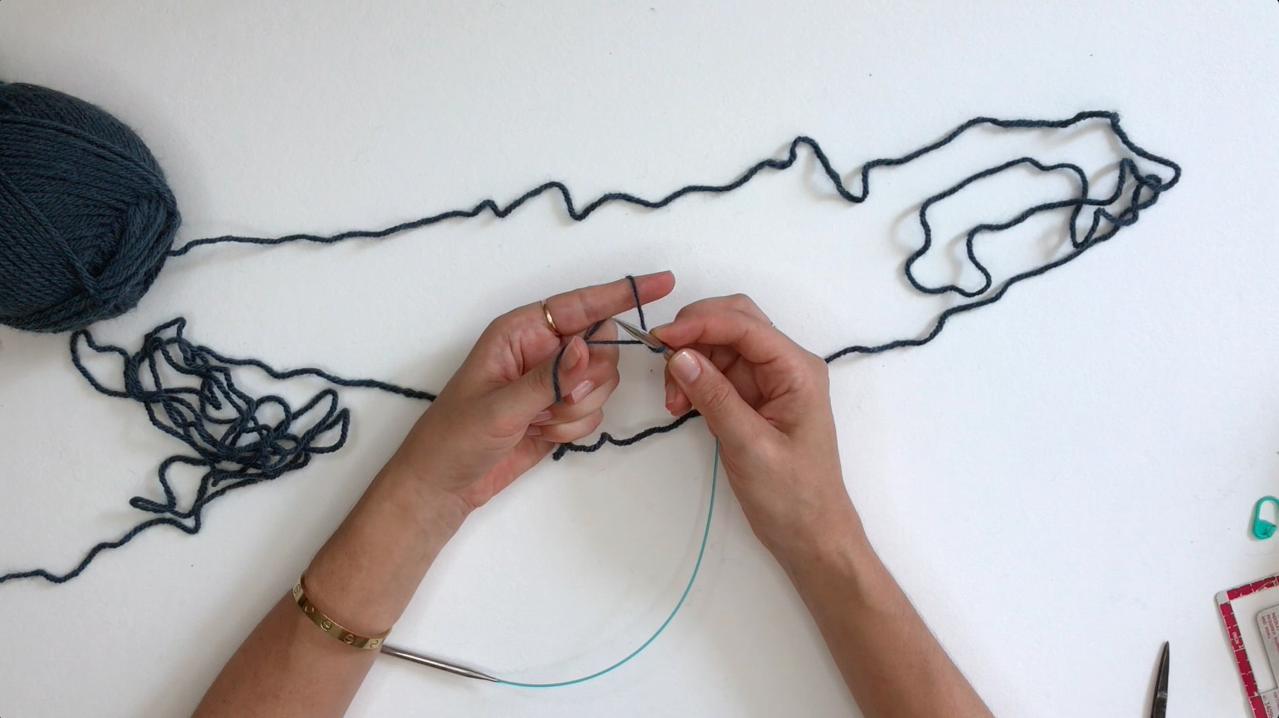
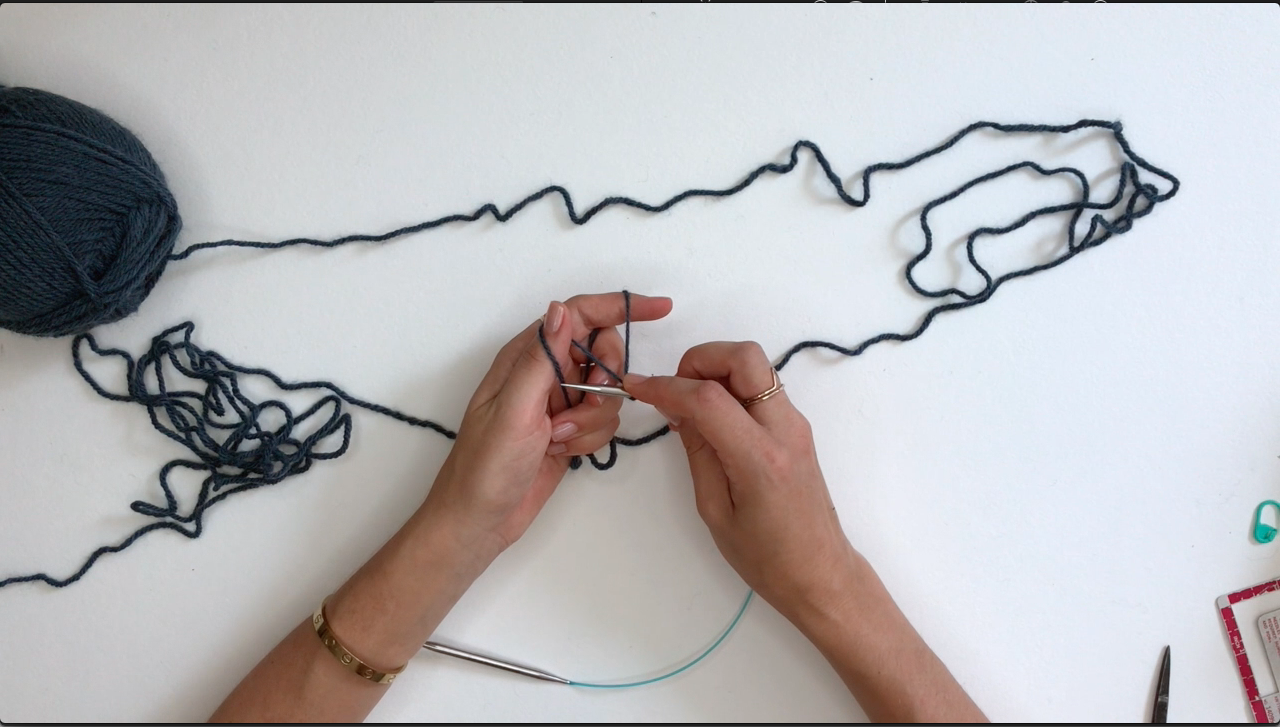
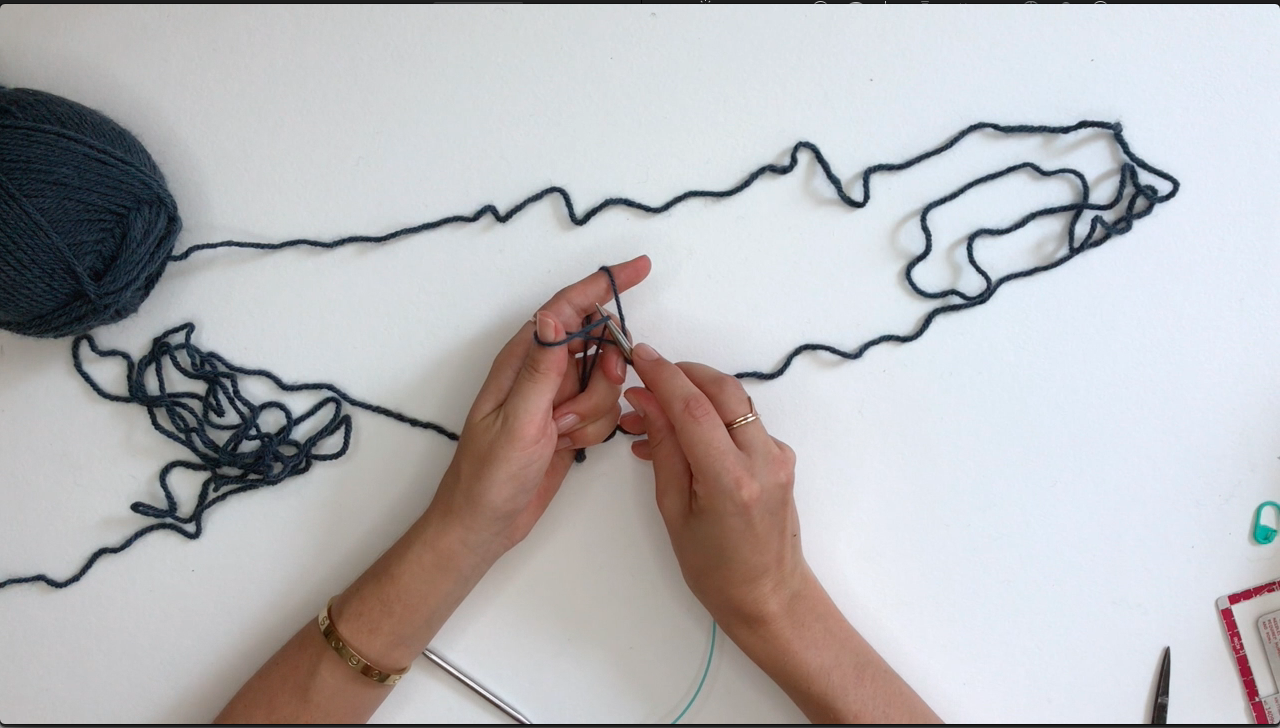
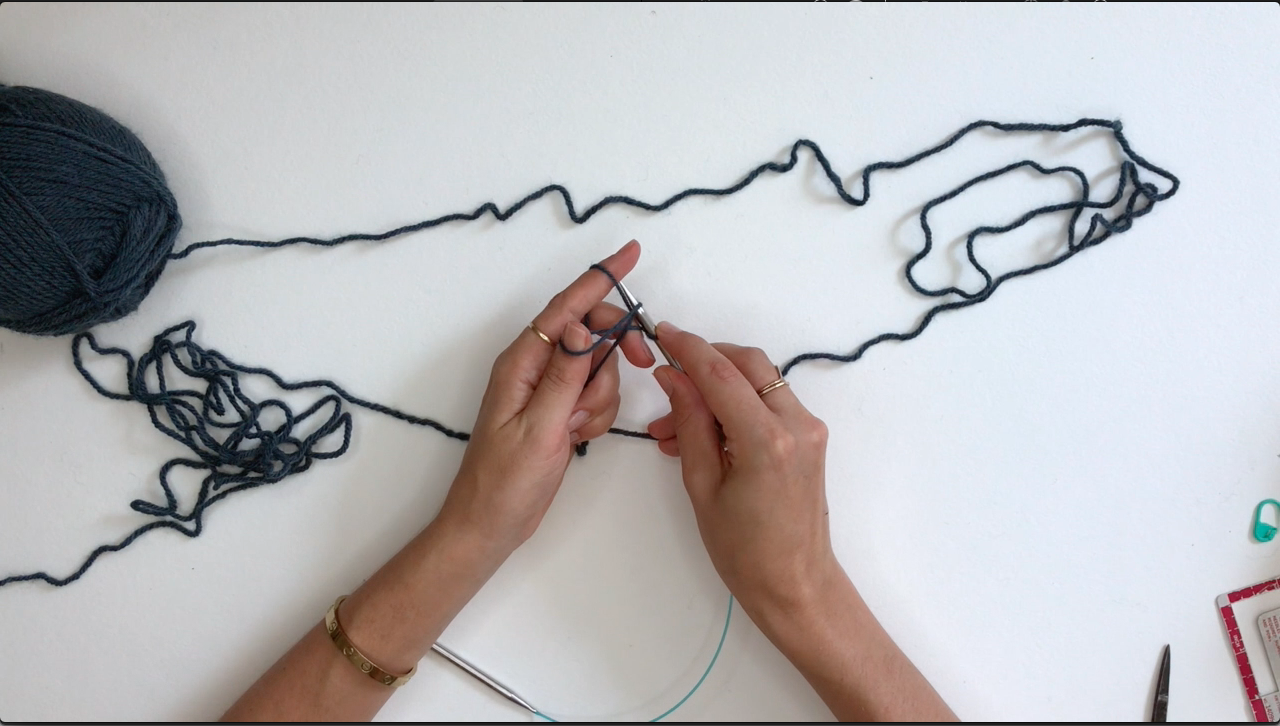
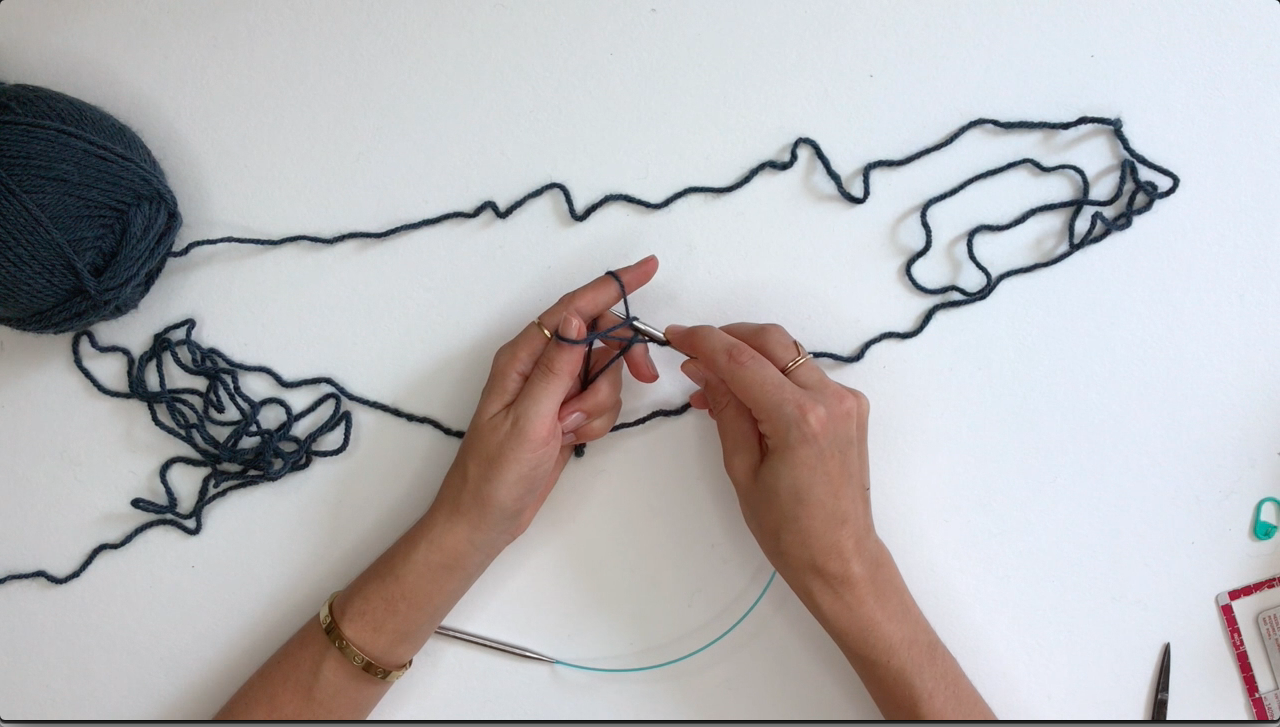
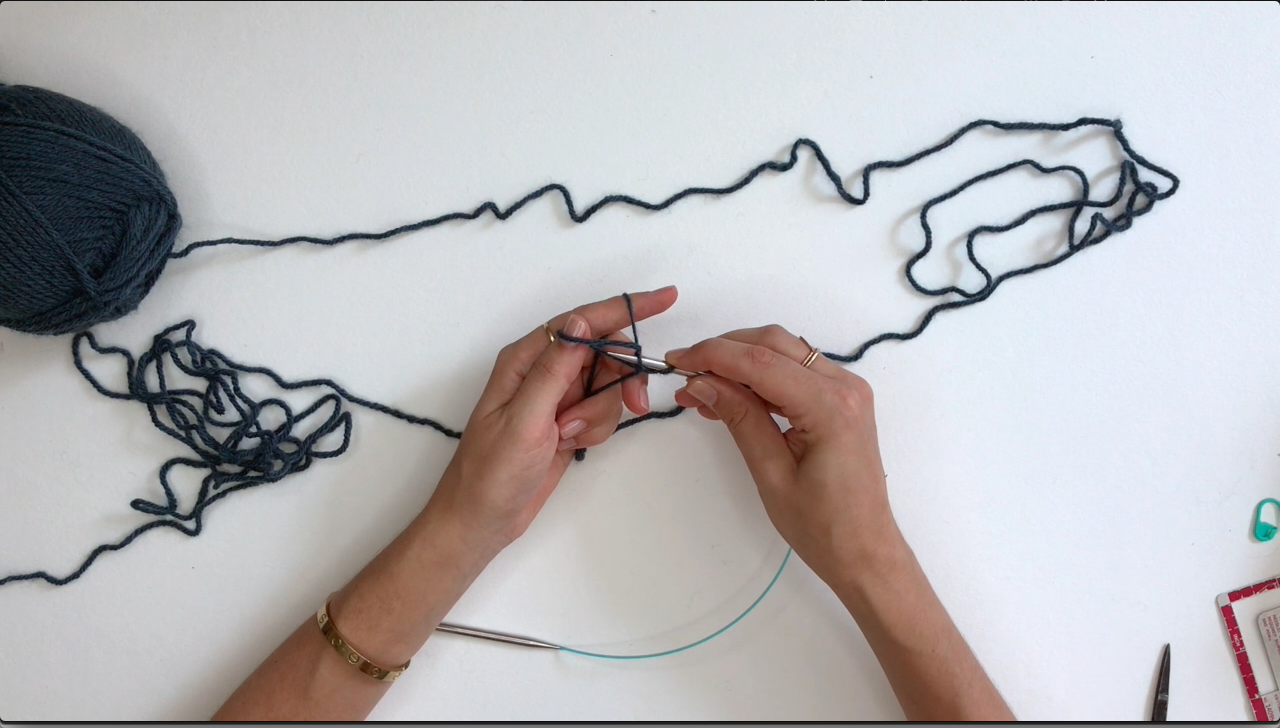
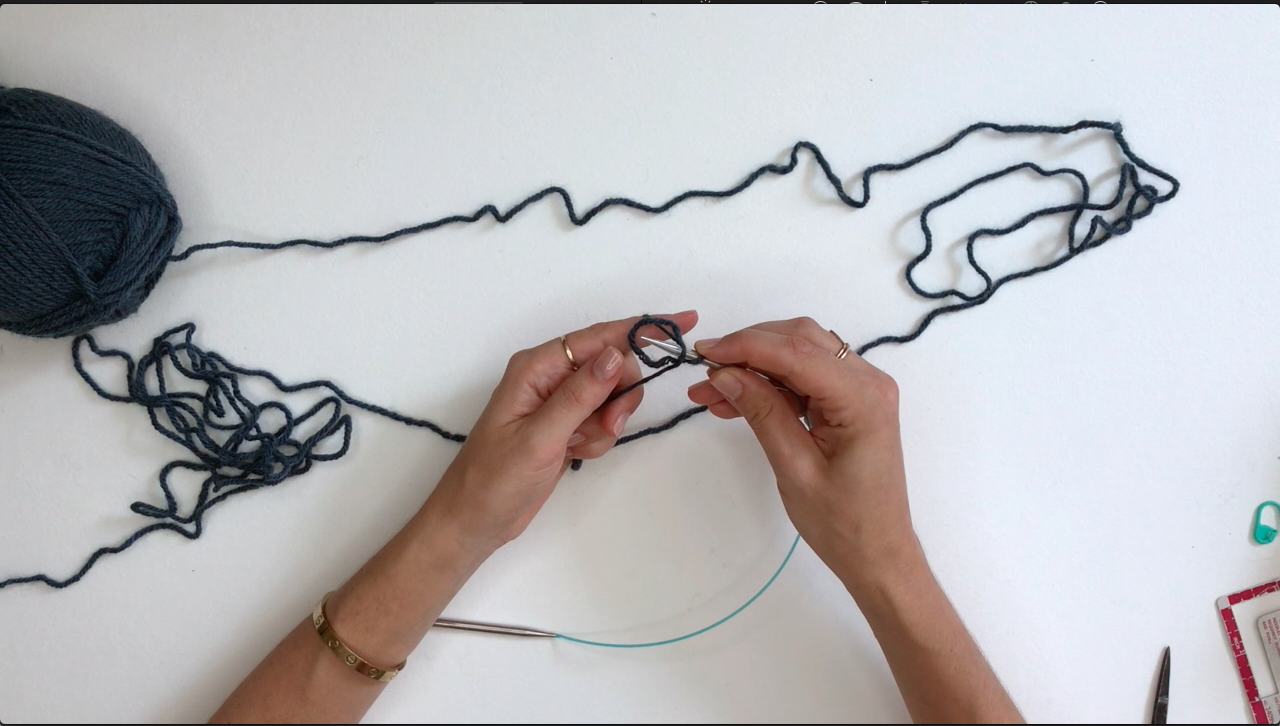
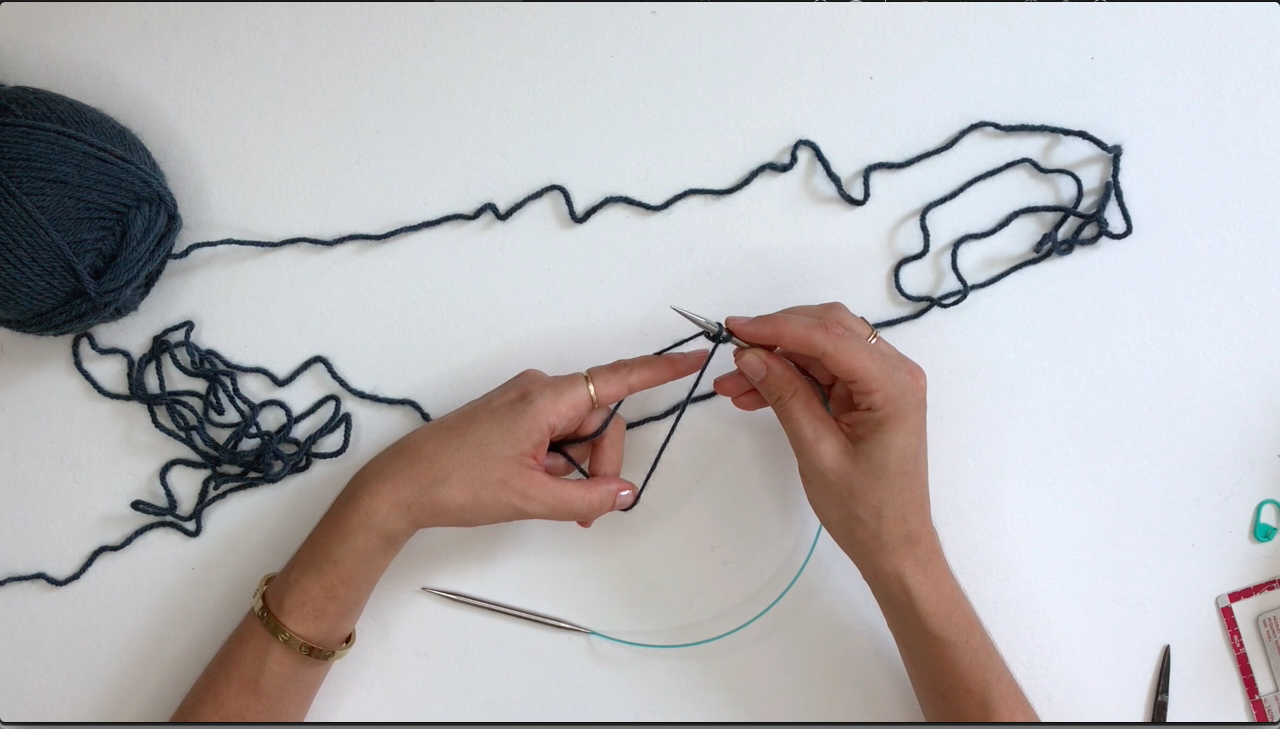
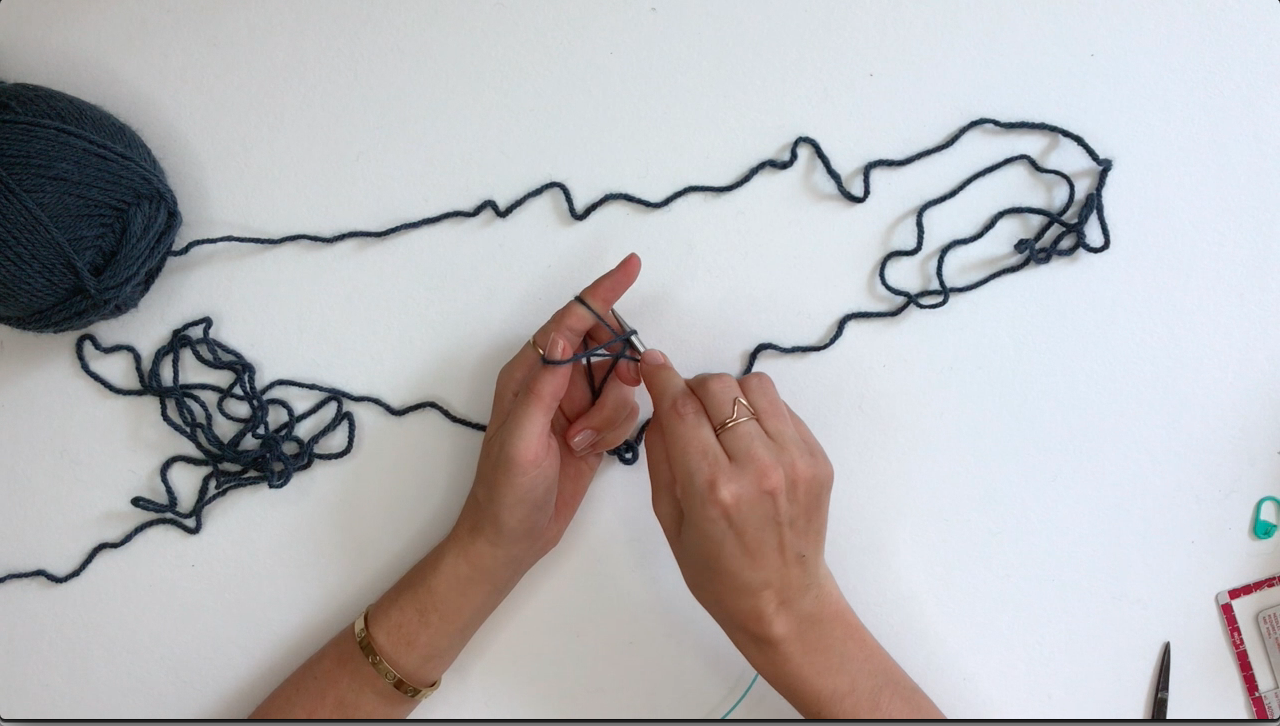
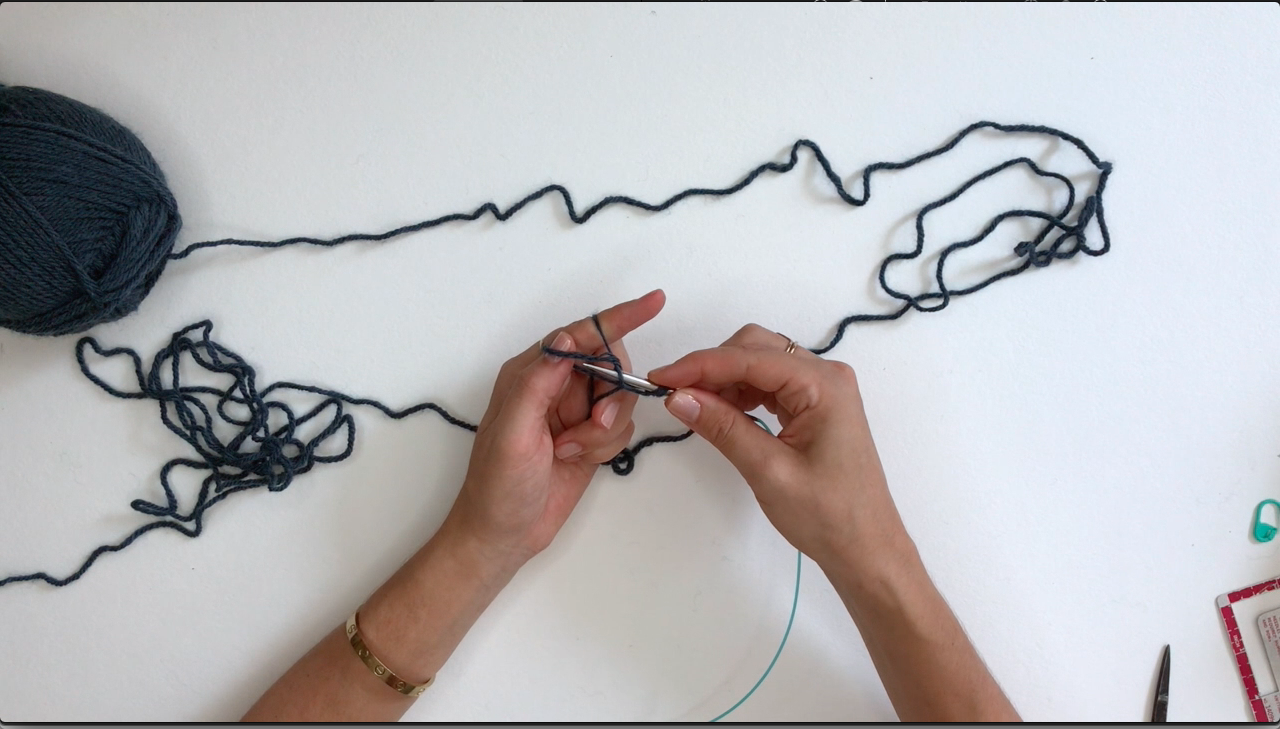
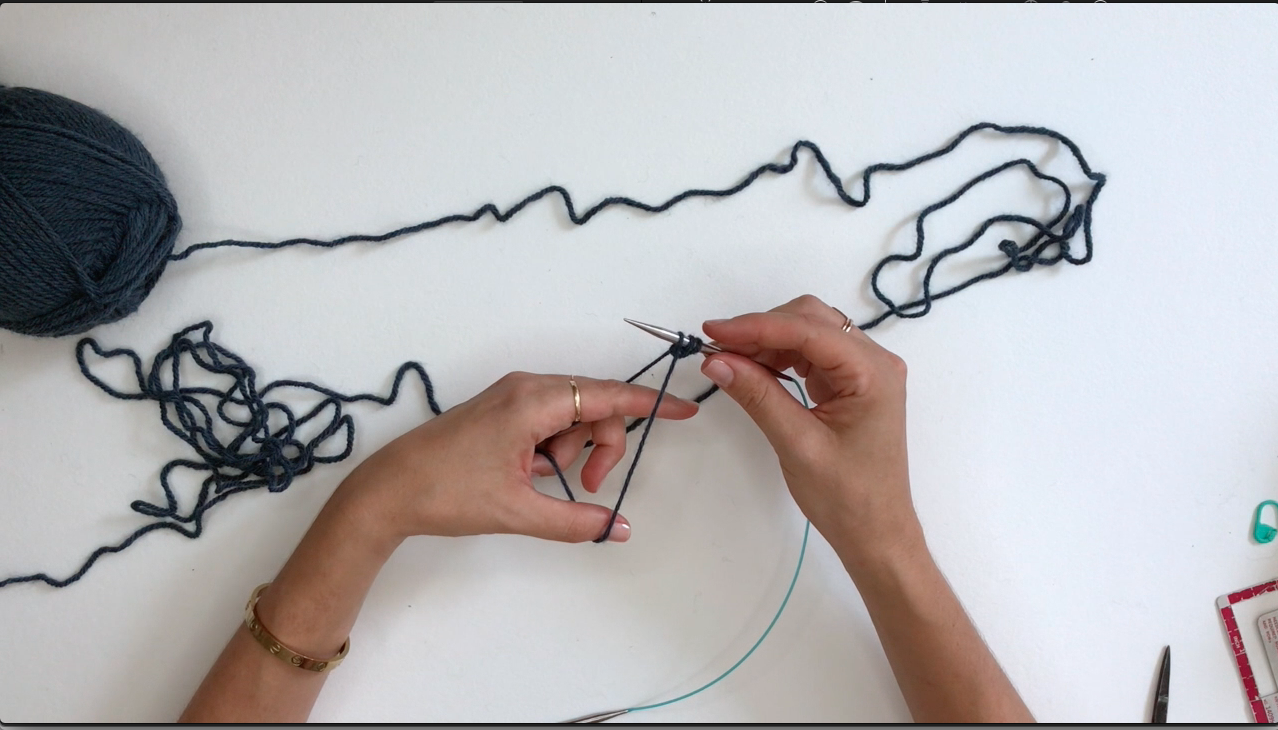
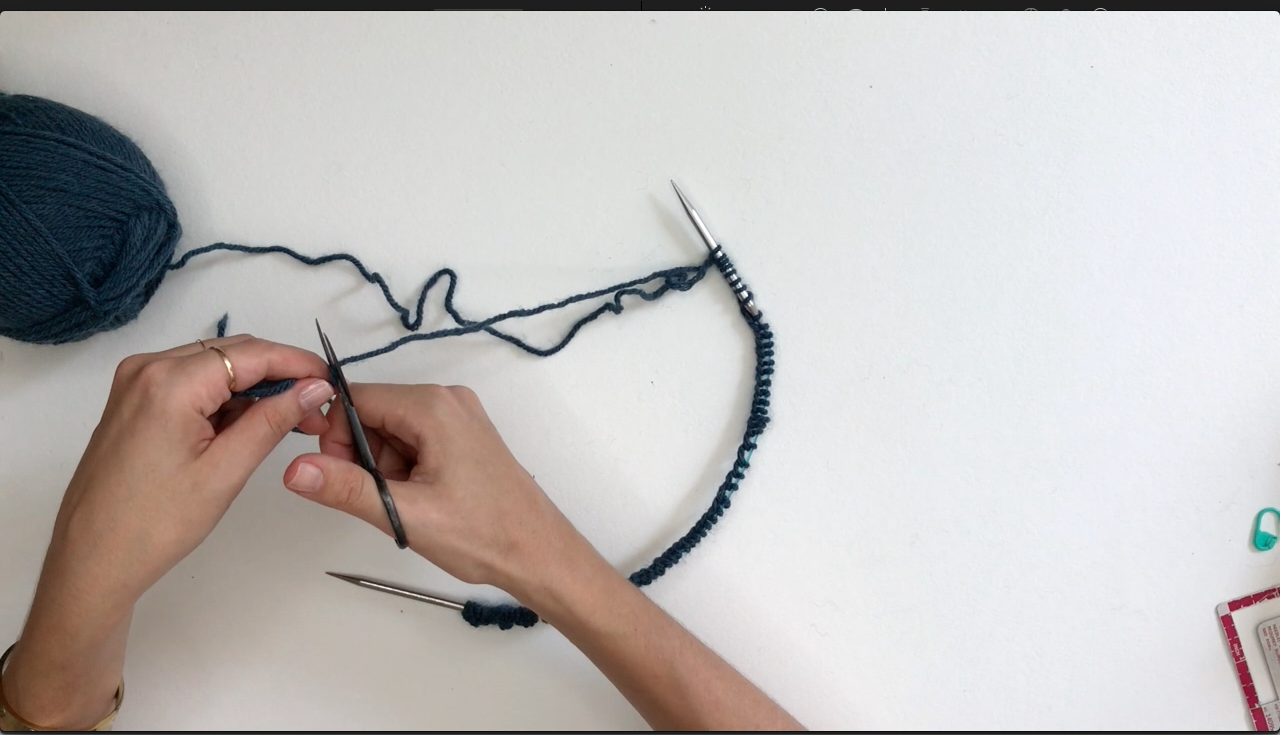
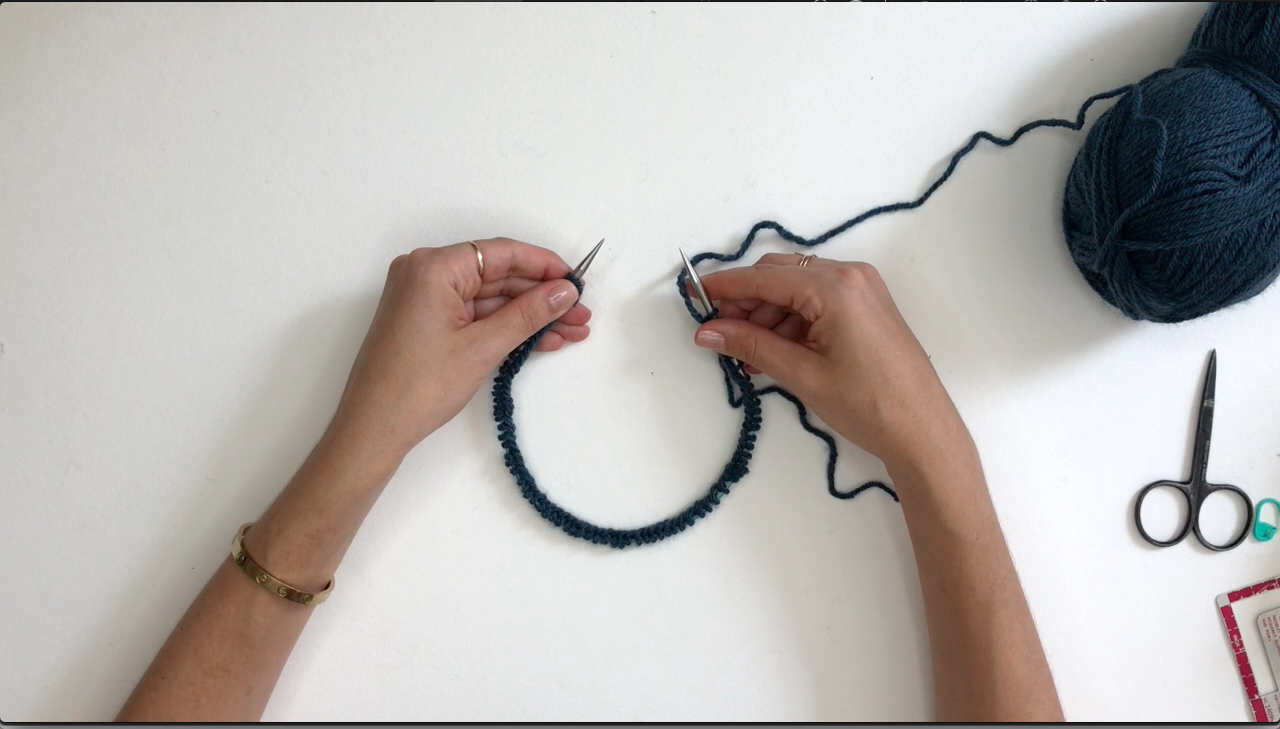
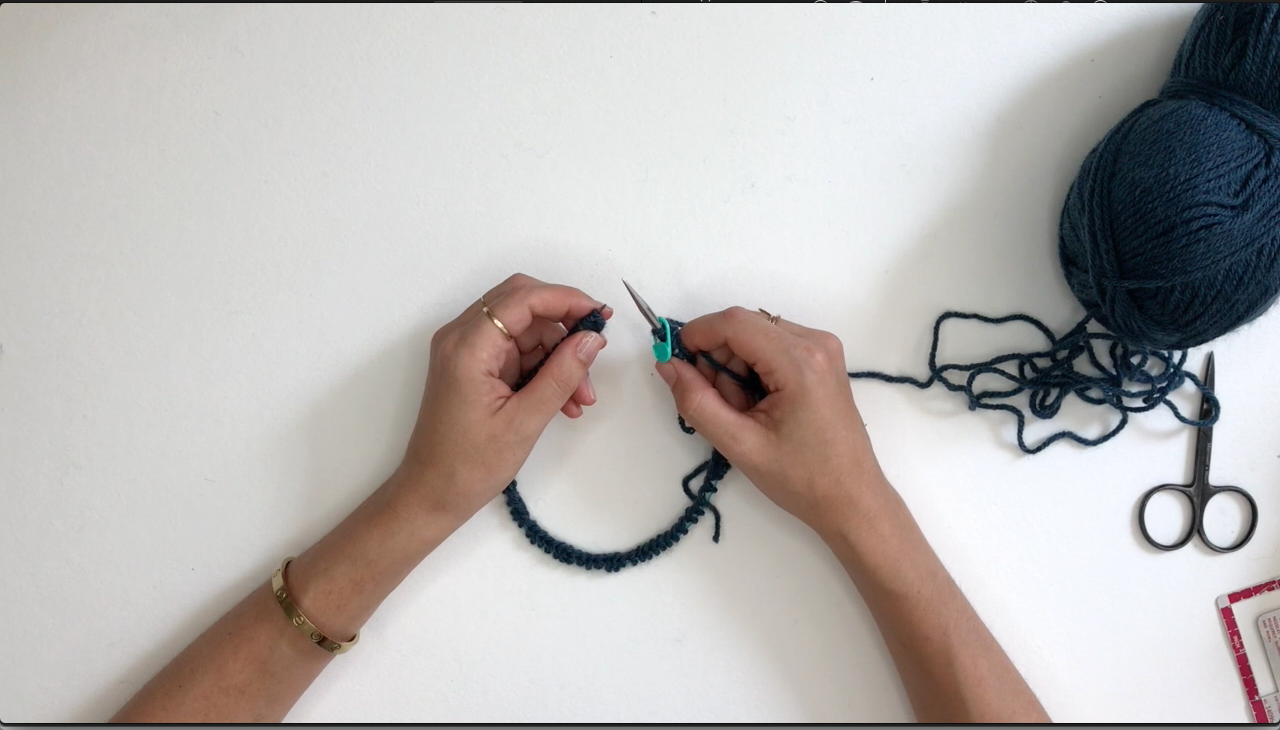
Video too speedy for you? Check out these step-by-step photos casting on and working the ribbed cuff.
CAST ON:
RIBBED CUFF:
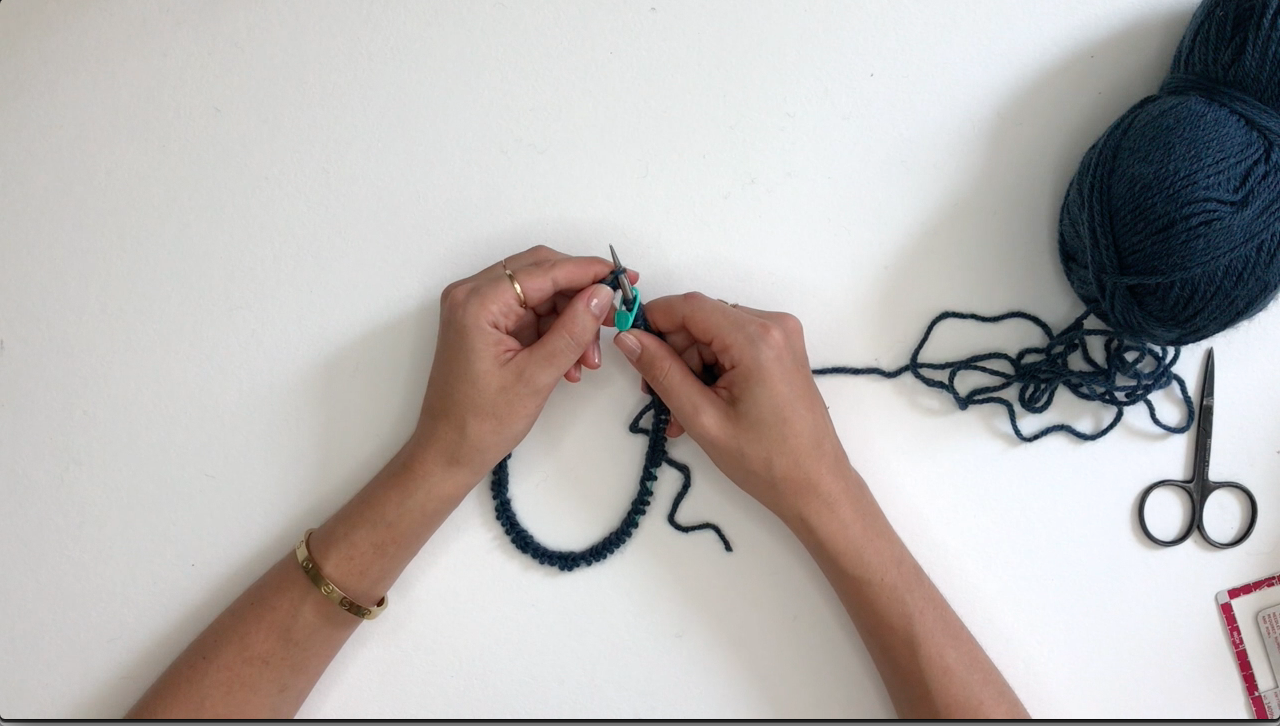
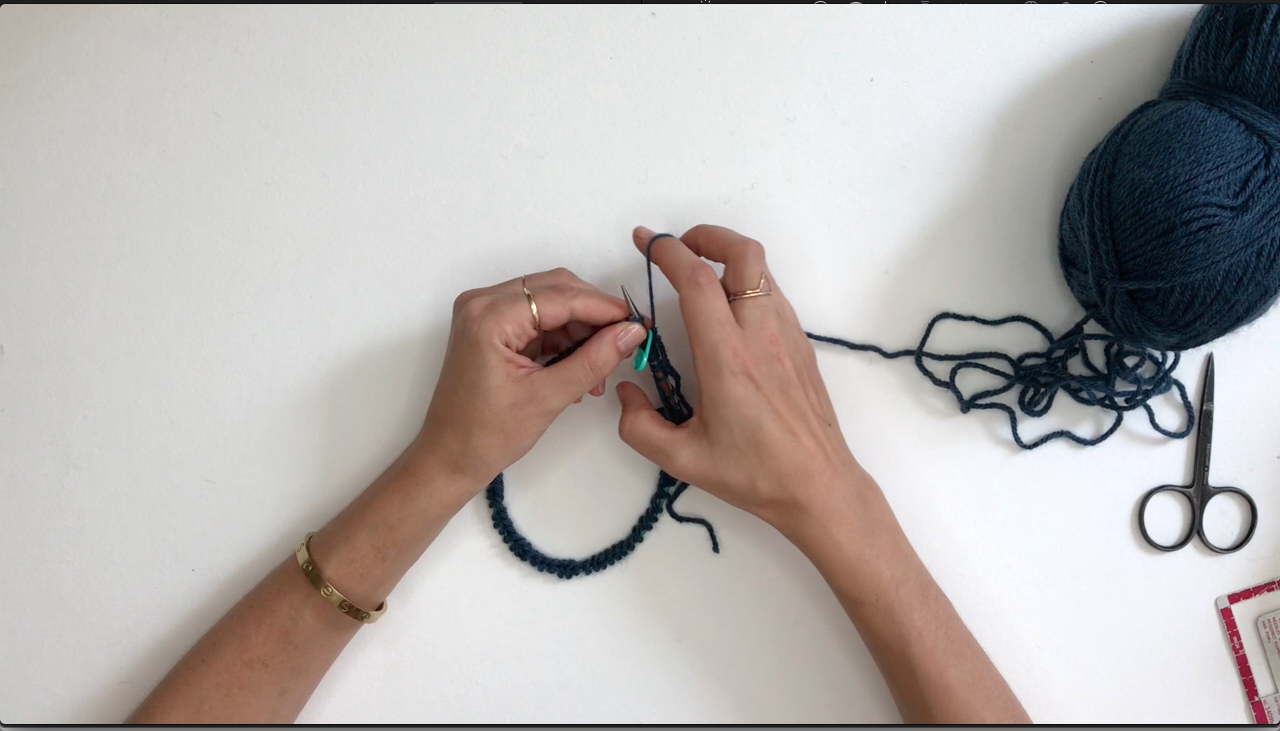
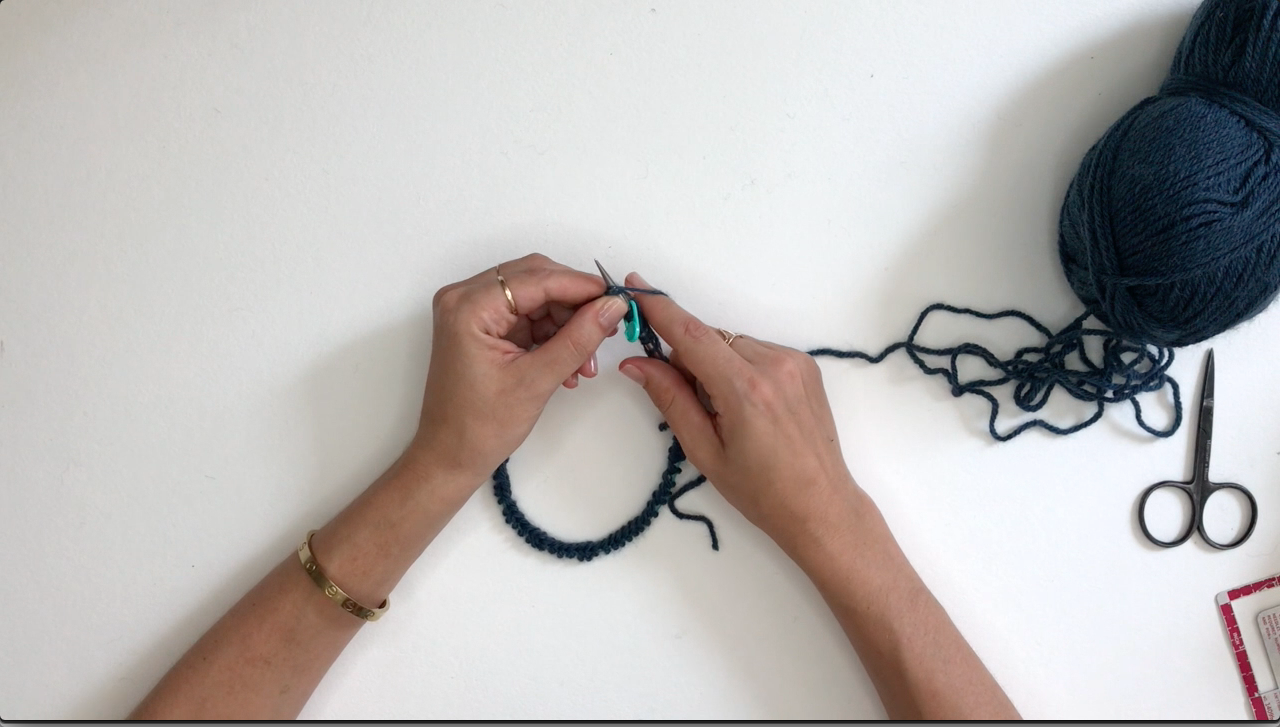
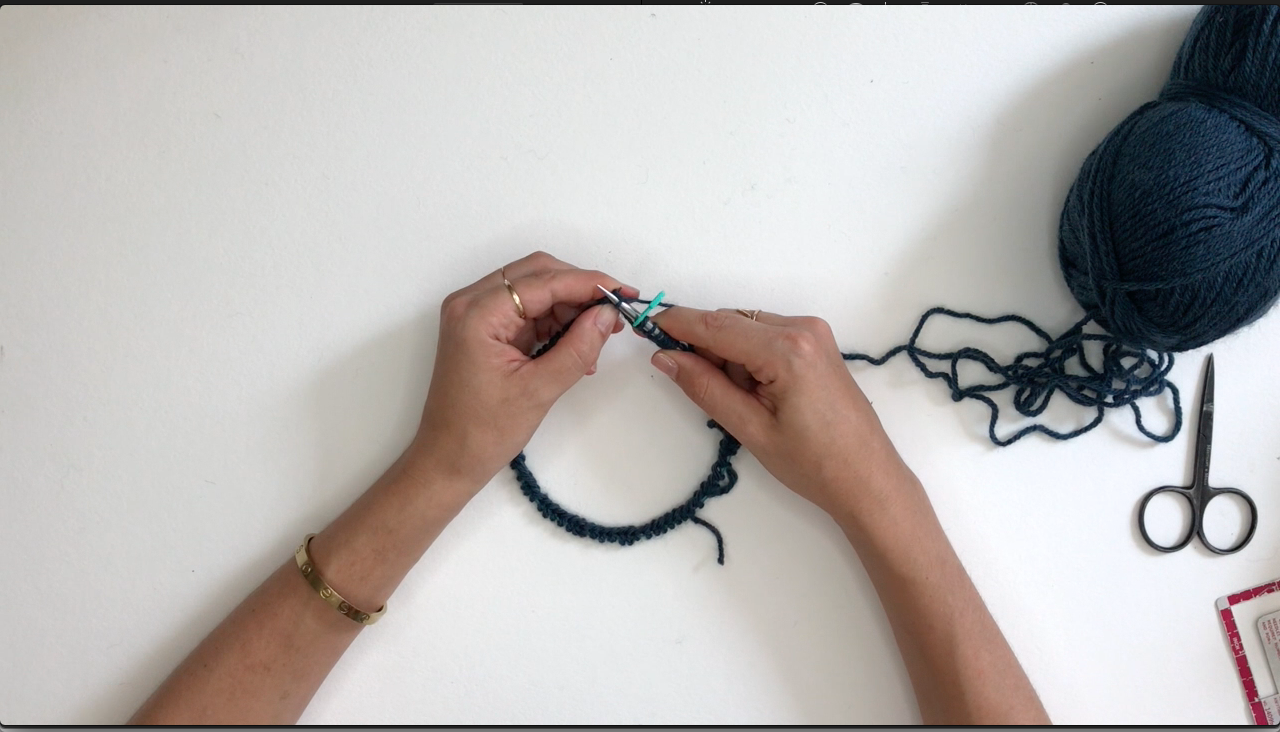
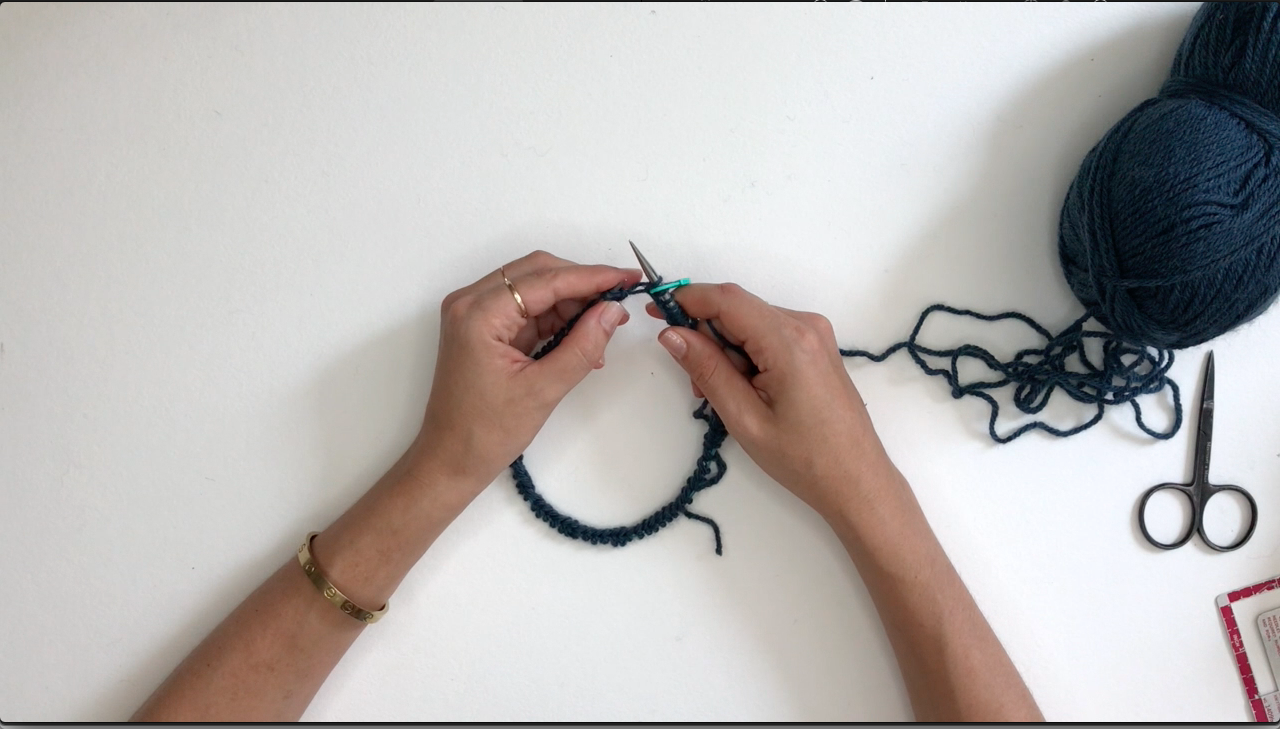
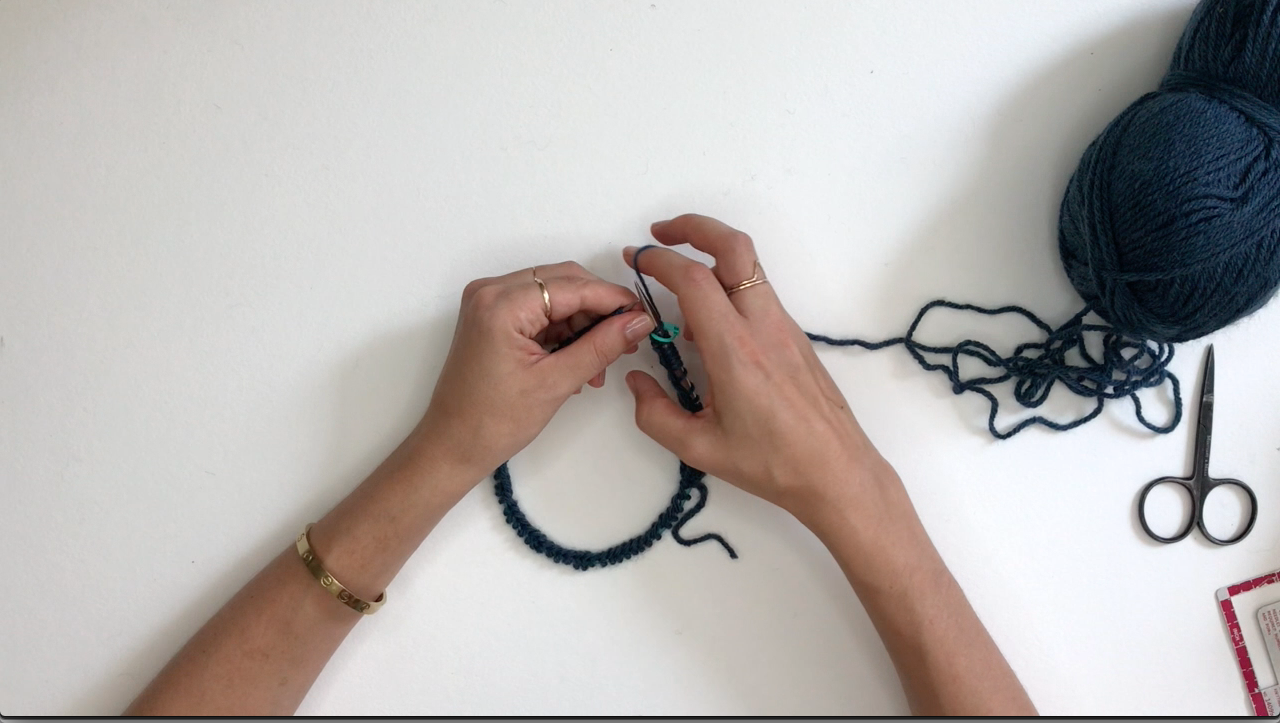
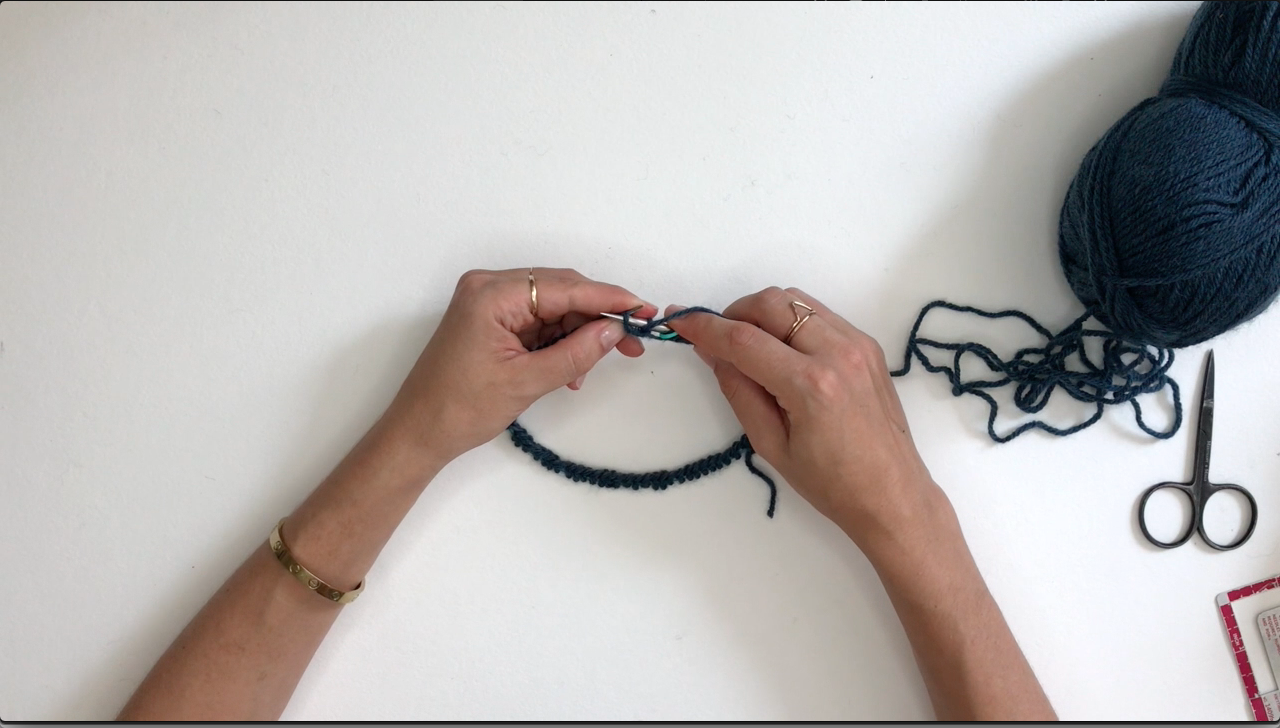
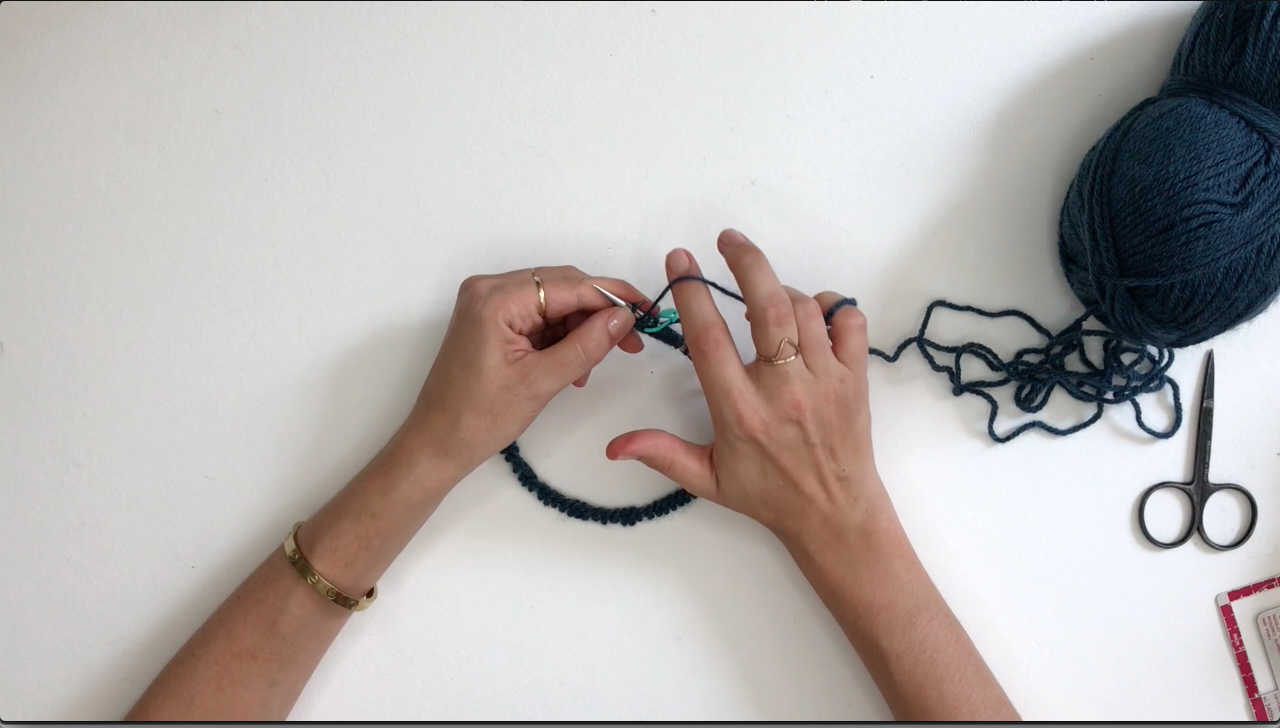
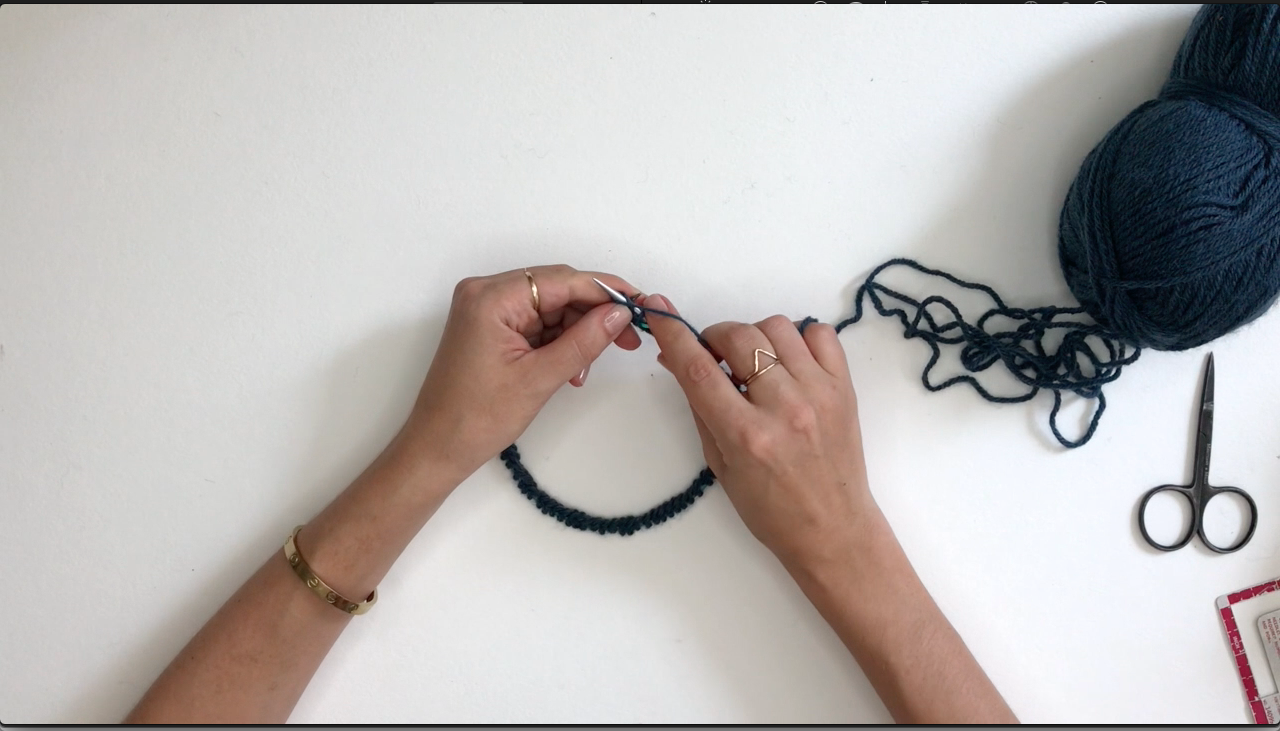
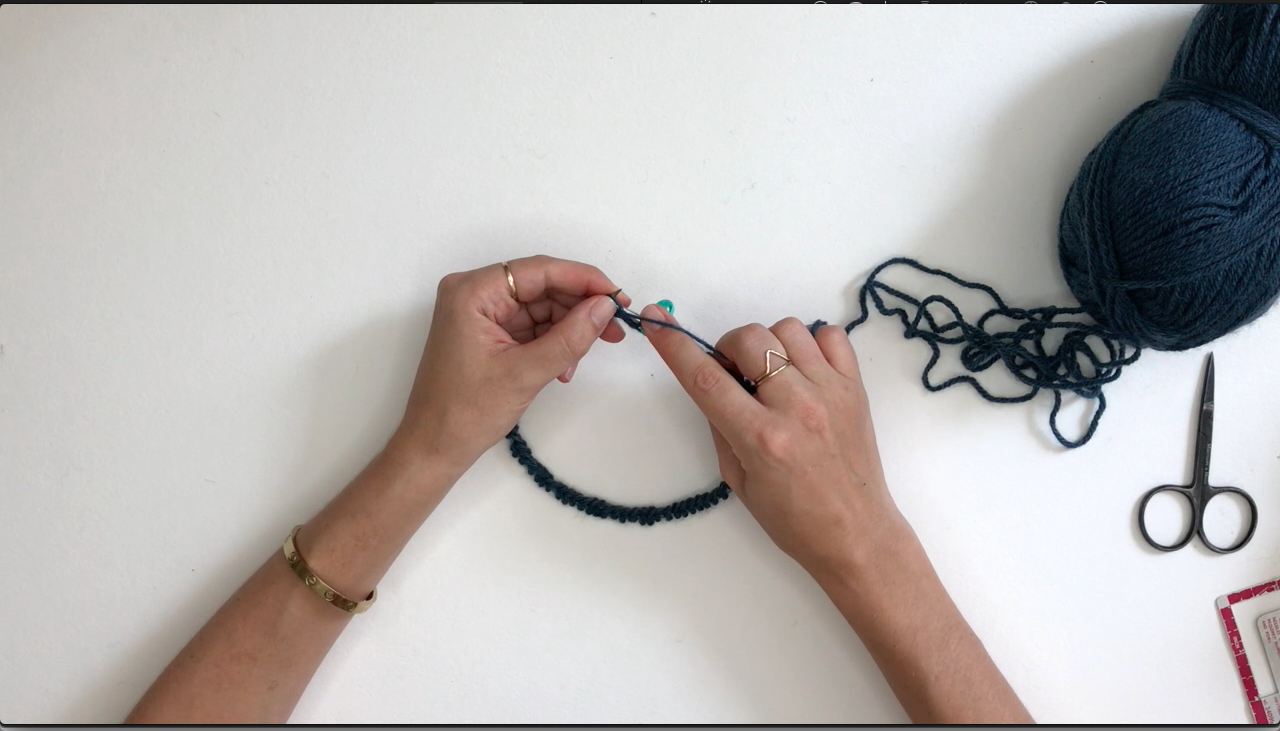
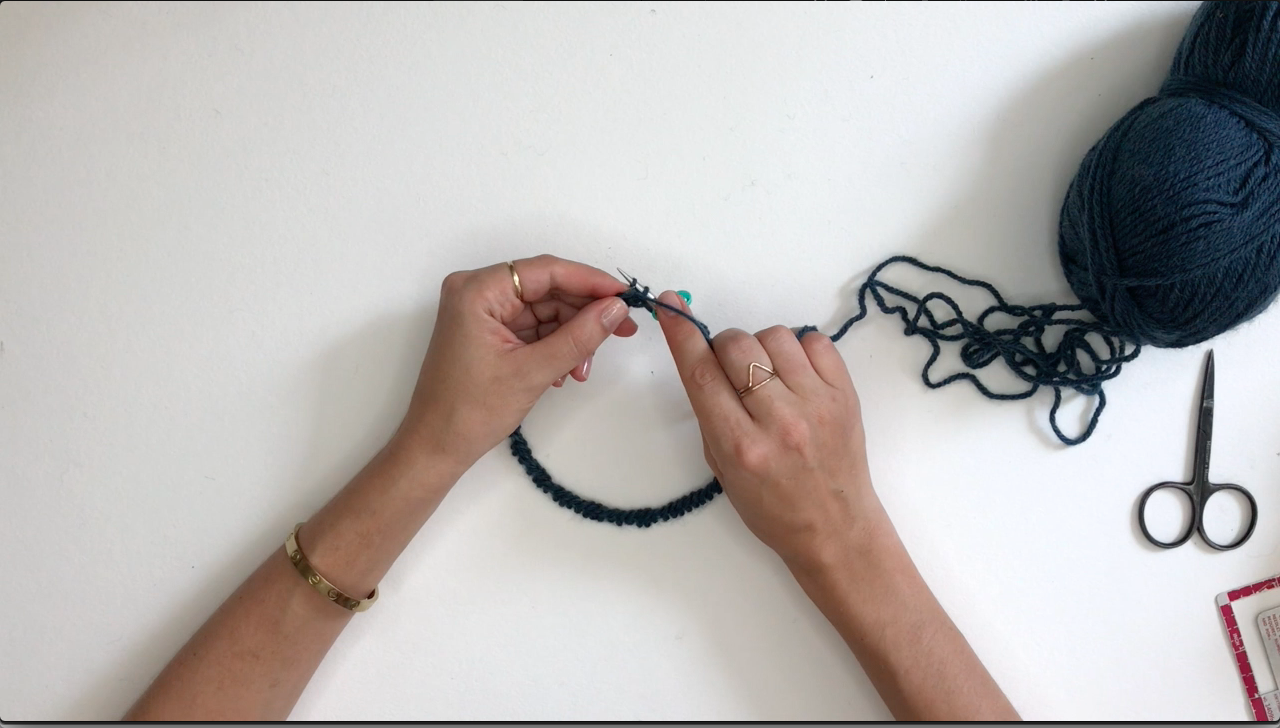
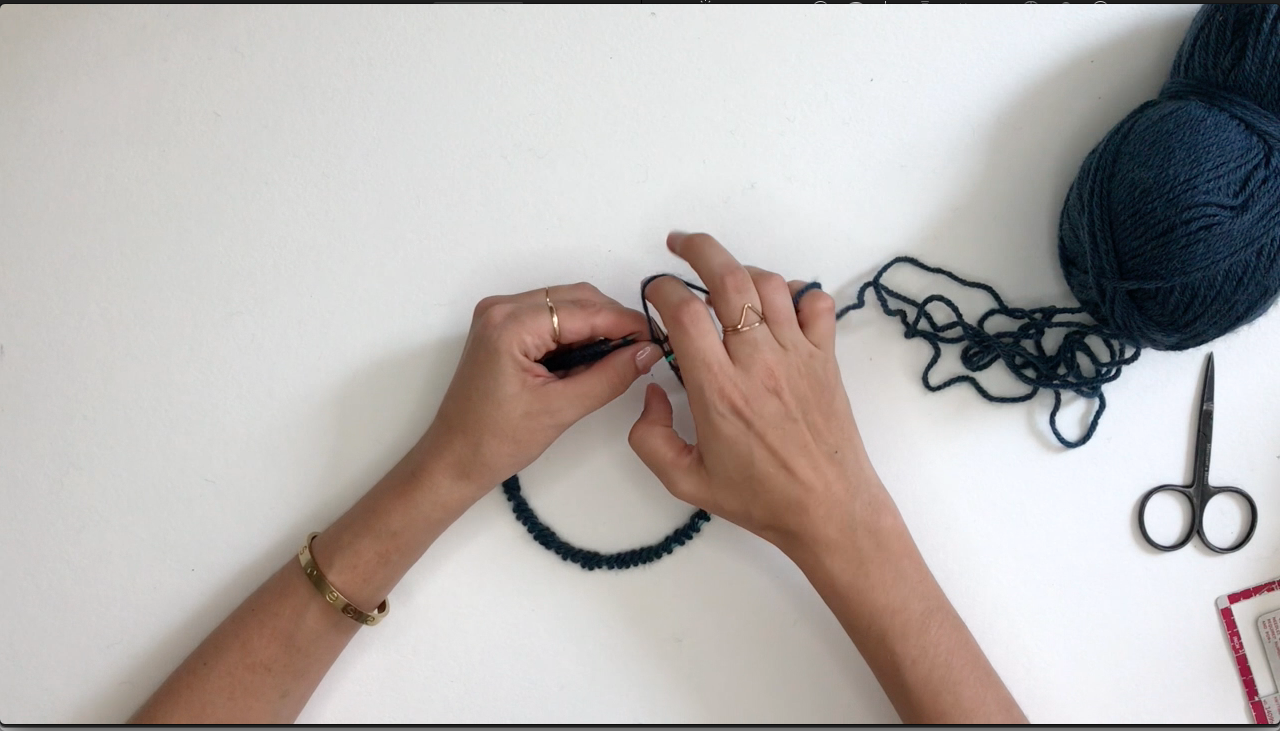
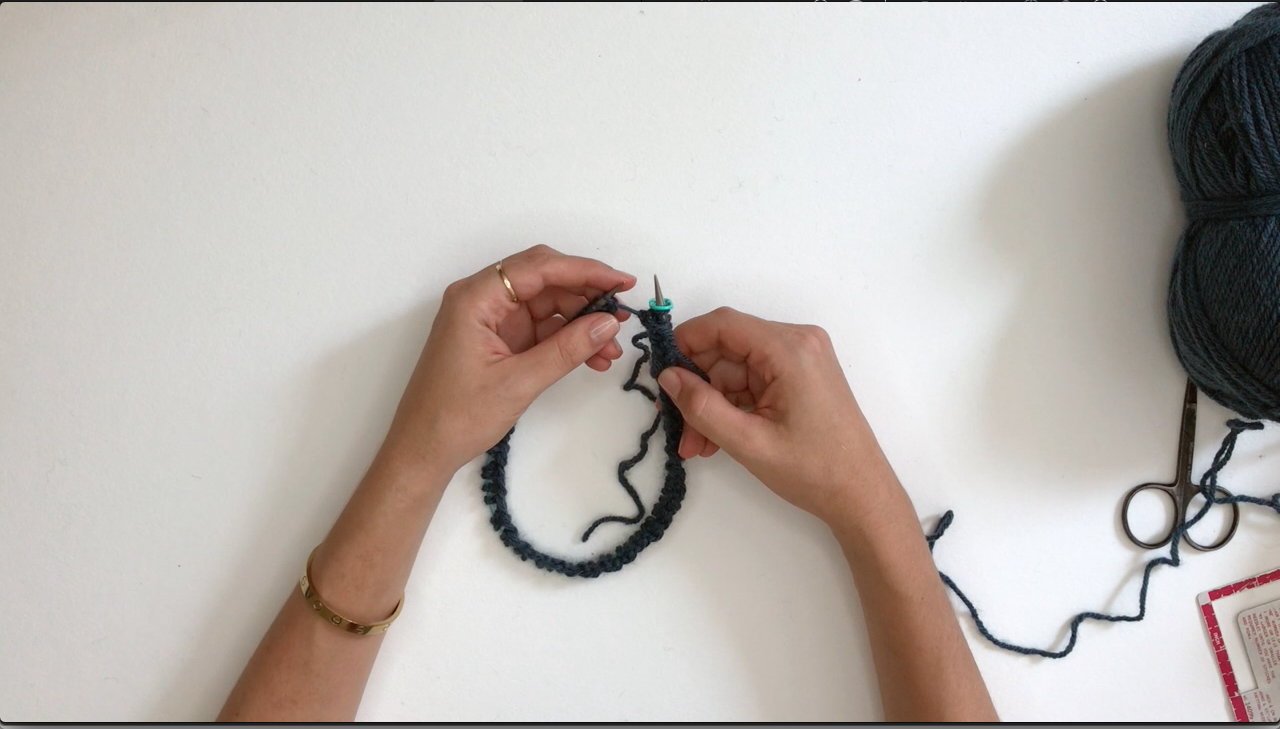
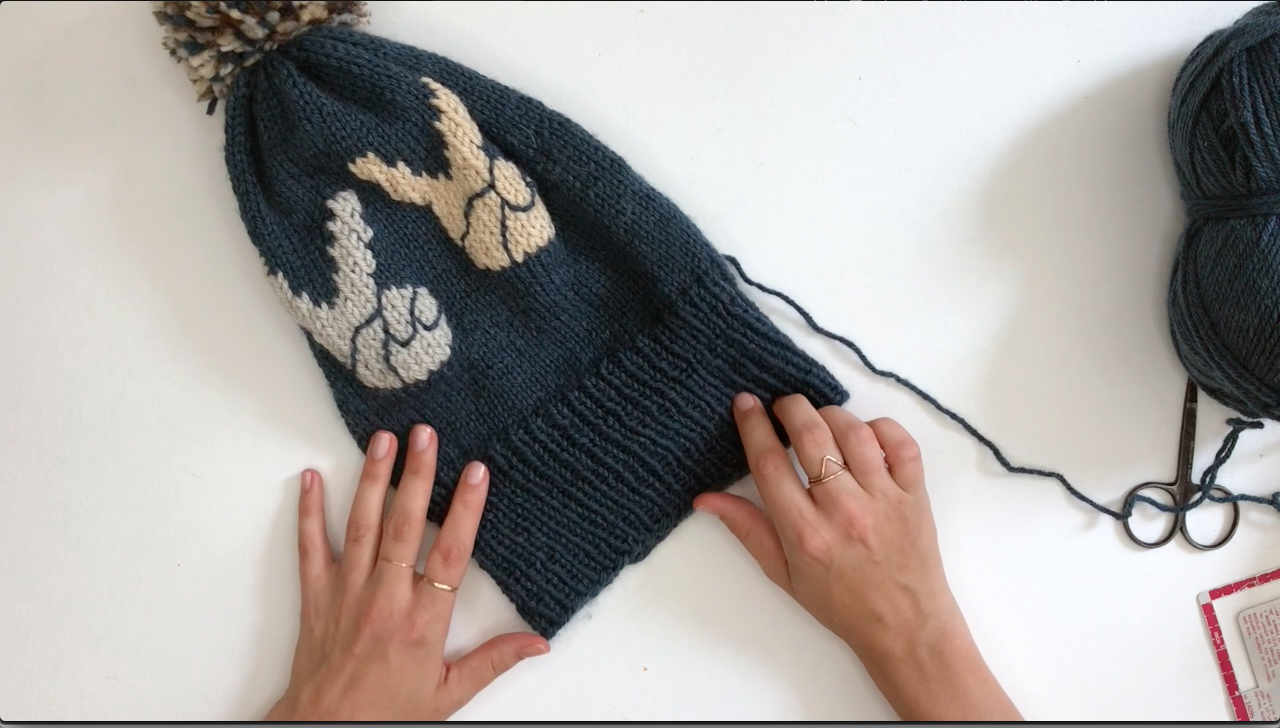
That's it! We will be re-grouping next Friday, September 7th to begin working the body of the hat. In the meantime, don't forget to share your progress on social media with the hashtags #HatNotHate and #PeaceHatKAL. I can't wait to see all these beauties in my feed!
Please share any feedback or questions in the comments below! xo
Happy knitting everyone :)
WEEK 2:
Welcome back everyone! It's been so fun seeing all of your projects on social media, and I can't wait to continue working on this meaningful project with all of you. Week 2 is all about the knit stitch. This is where we create the main body of the hat, which is simply the knit stitch over and over again. When you work stockinette fabric in the round, there is no need to purl. You will knit every round until the whole hat (including the ribbed cuff) measures 12"/30cm from the cast on edge. This is the perfect time to settle into your favorite show and experience some major meditative stitching. Can't wait to see your progress as these babies take shape! Follow along with my second video here:
We've already used the knit stitch at this point, and we've been knitting the cuff in the round, so there shouldn't be too much confusion about working the body, but just in case here is the link to my knit stitch tutorial. As always if you have any questions shoot me a message or leave a comment below! And don't forget to use the hashtags :)
WEEK 3:
Here we are in the final stretch! This week we are finishing up our hats by decreasing at the very top and pulling the crown together, weaving in the ends, using duplicate stitch and an embroidery back stitch to create the colorwork peace sign hands, and creating the pompom to top it all off. Let’s begin!
DECREASING THE TOP:
Need extra help with the K2tog decrease? Check out my tutorial here: https://www.twoofwands.com/knitting-tutorials/k2togssk
DUPLICATE STITCH:
For step by step duplicate stitch photos, I highly recommend this post by Purl Soho: https://www.purlsoho.com/create/duplicate-stitch/
Here’s an excellent guide also by Purl Soho on how to weave in ends: https://www.purlsoho.com/create/weaving-in-your-ends/
EMBROIDERY BACK STITCH:
While checking out Purl Soho’s site for the above, I also found this lovely photo tutorial for doing an embroidery back stitch: https://www.purlsoho.com/create/embroidery-basics/
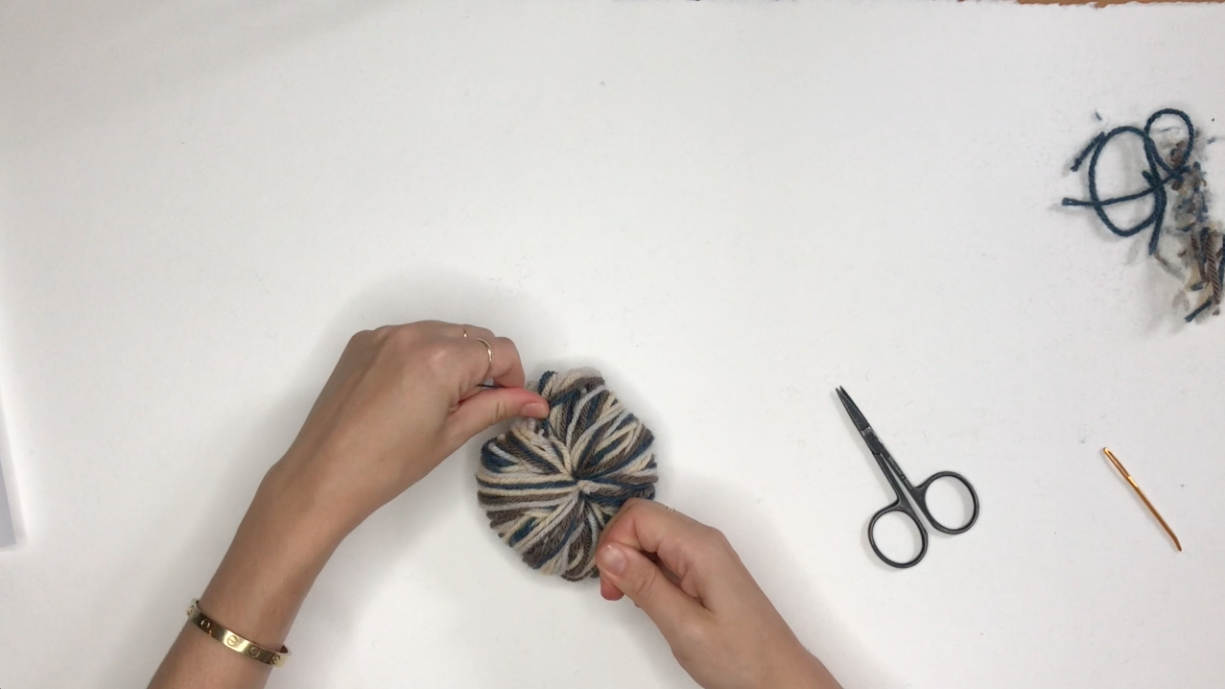
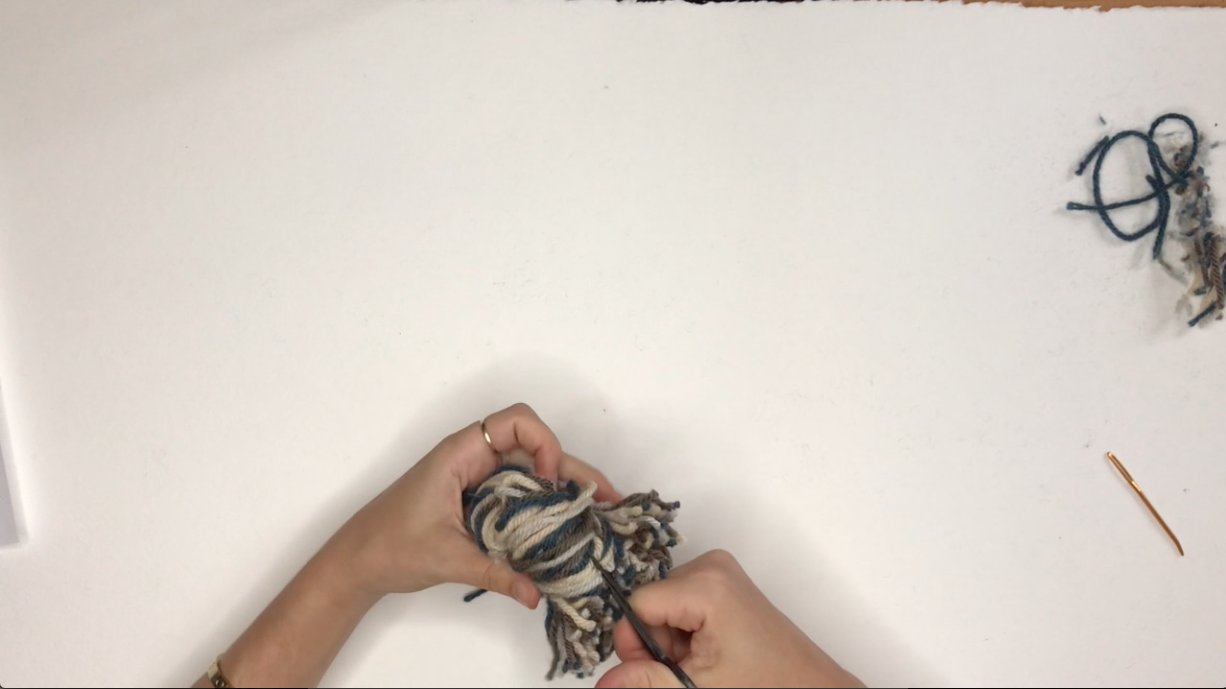
POMPOM:
This is an excellent step-by-step photo tutorial for using the Clover pompom maker that I show in the video put together by my girl Stephanie from All About Ami: https://www.allaboutami.com/cloverpompommaker/
And here are some photos on how to create it with nothing but your hands:
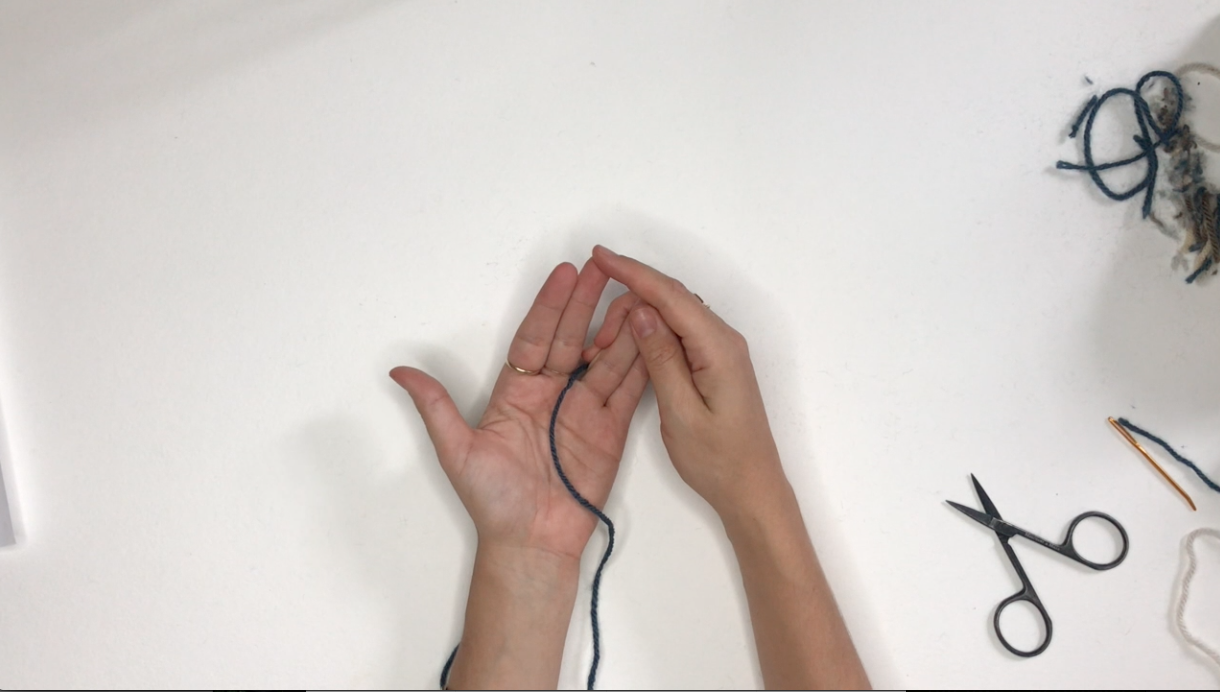
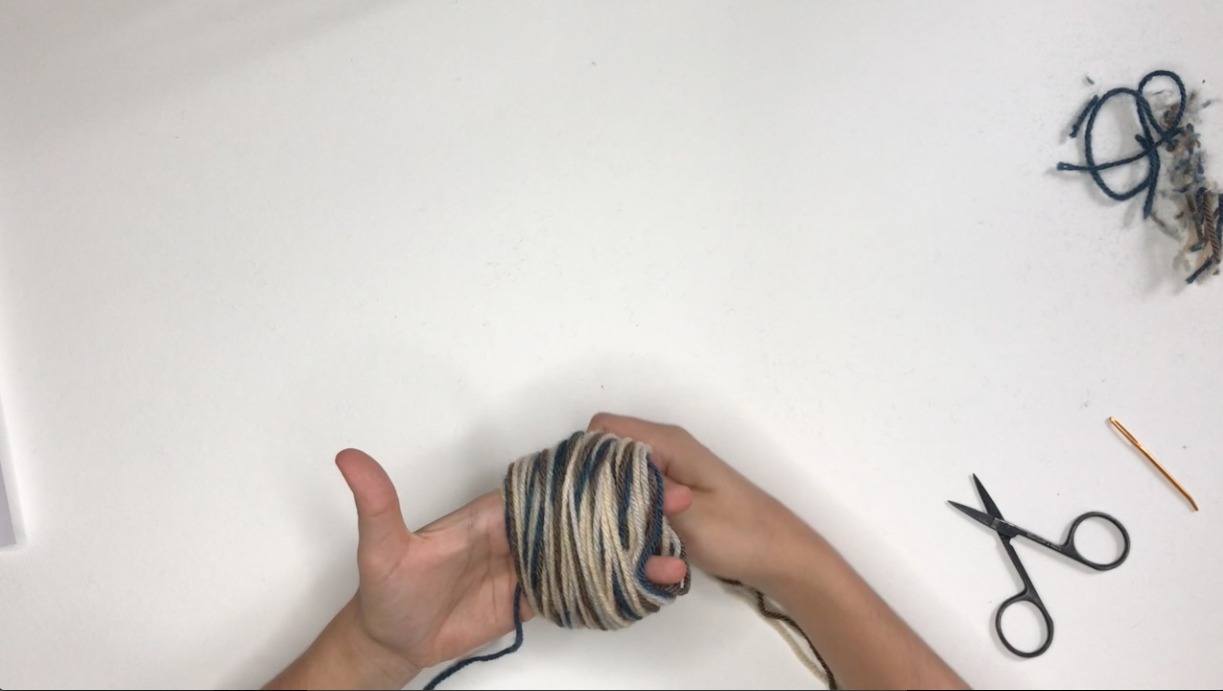
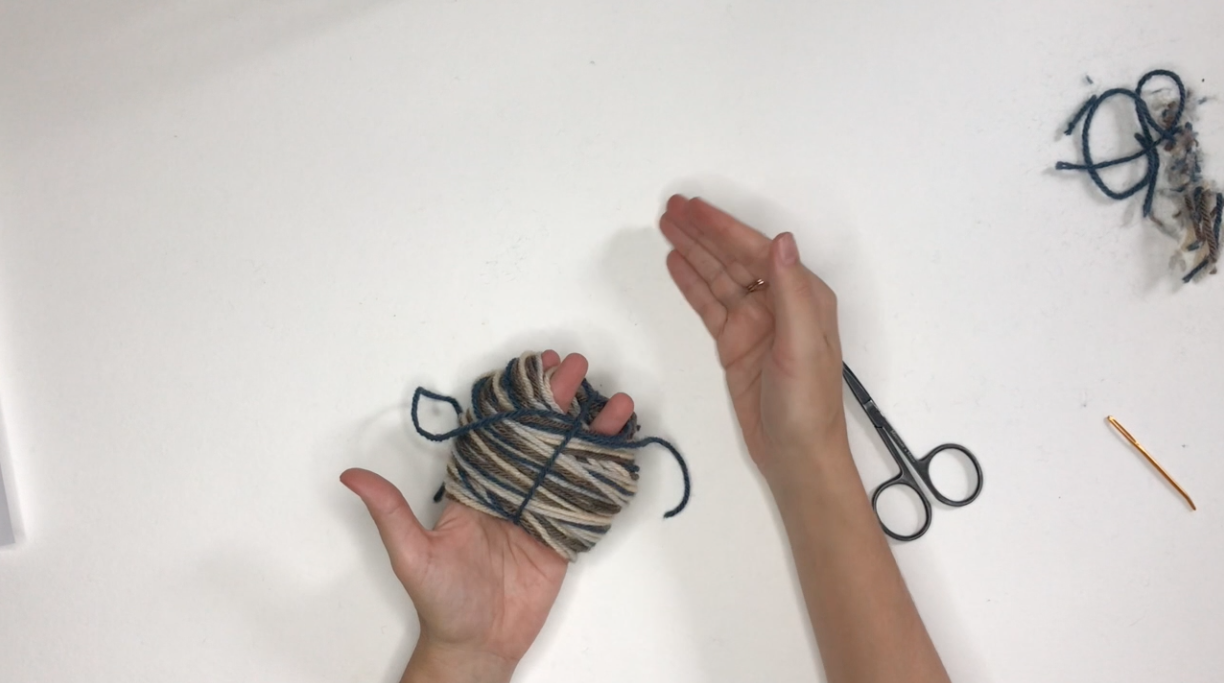
Thank you so much for knitting along with me! I hope you all enjoyed this special KAL, and please make sure to donate any extra hats to Lion Brand before Sept 24th so they can donate to a local NY school for the children to wear on Oct 1st. Here is the address:
Lion Brand Yarn, Hat Not Hate, 135 Kero Road, Carlstadt , NJ, 07072
