Sliced Diamonds Wrap
October. The month of falling leaves, cider donuts, pumpkin patches, flannel, mulled wine, bonfires, Hocus Pocus, and most importantly, layered knitwear. My favorite time of year. It was with these feelings in mind that I designed my latest piece. The chill in the air beckons for a soft layer of yarn to cover your shoulders. Elevate a casual look or compliment an elegant ensemble with the Sliced Diamonds Wrap, my newest collab out with Lion Brand Yarn. Sharp lines and high contrasting tones make this a striking accessory that can be worn as a shawl or a scarf. Worked up in LB’s new Touch of Mohair, it is light as a feather, soft, and perfect for crisp fall weather. Read on for the free pattern, purchase an ad-free, printable PDF here, or purchase the full yarn kit from Lion Brand here (20% through Oct 10!).
I’ve been working with these diamond shapes for over a year now, first thinking I would make them into a blanket, testing them with different yarns, but always abandoning the idea because the combinations never turned out just right.
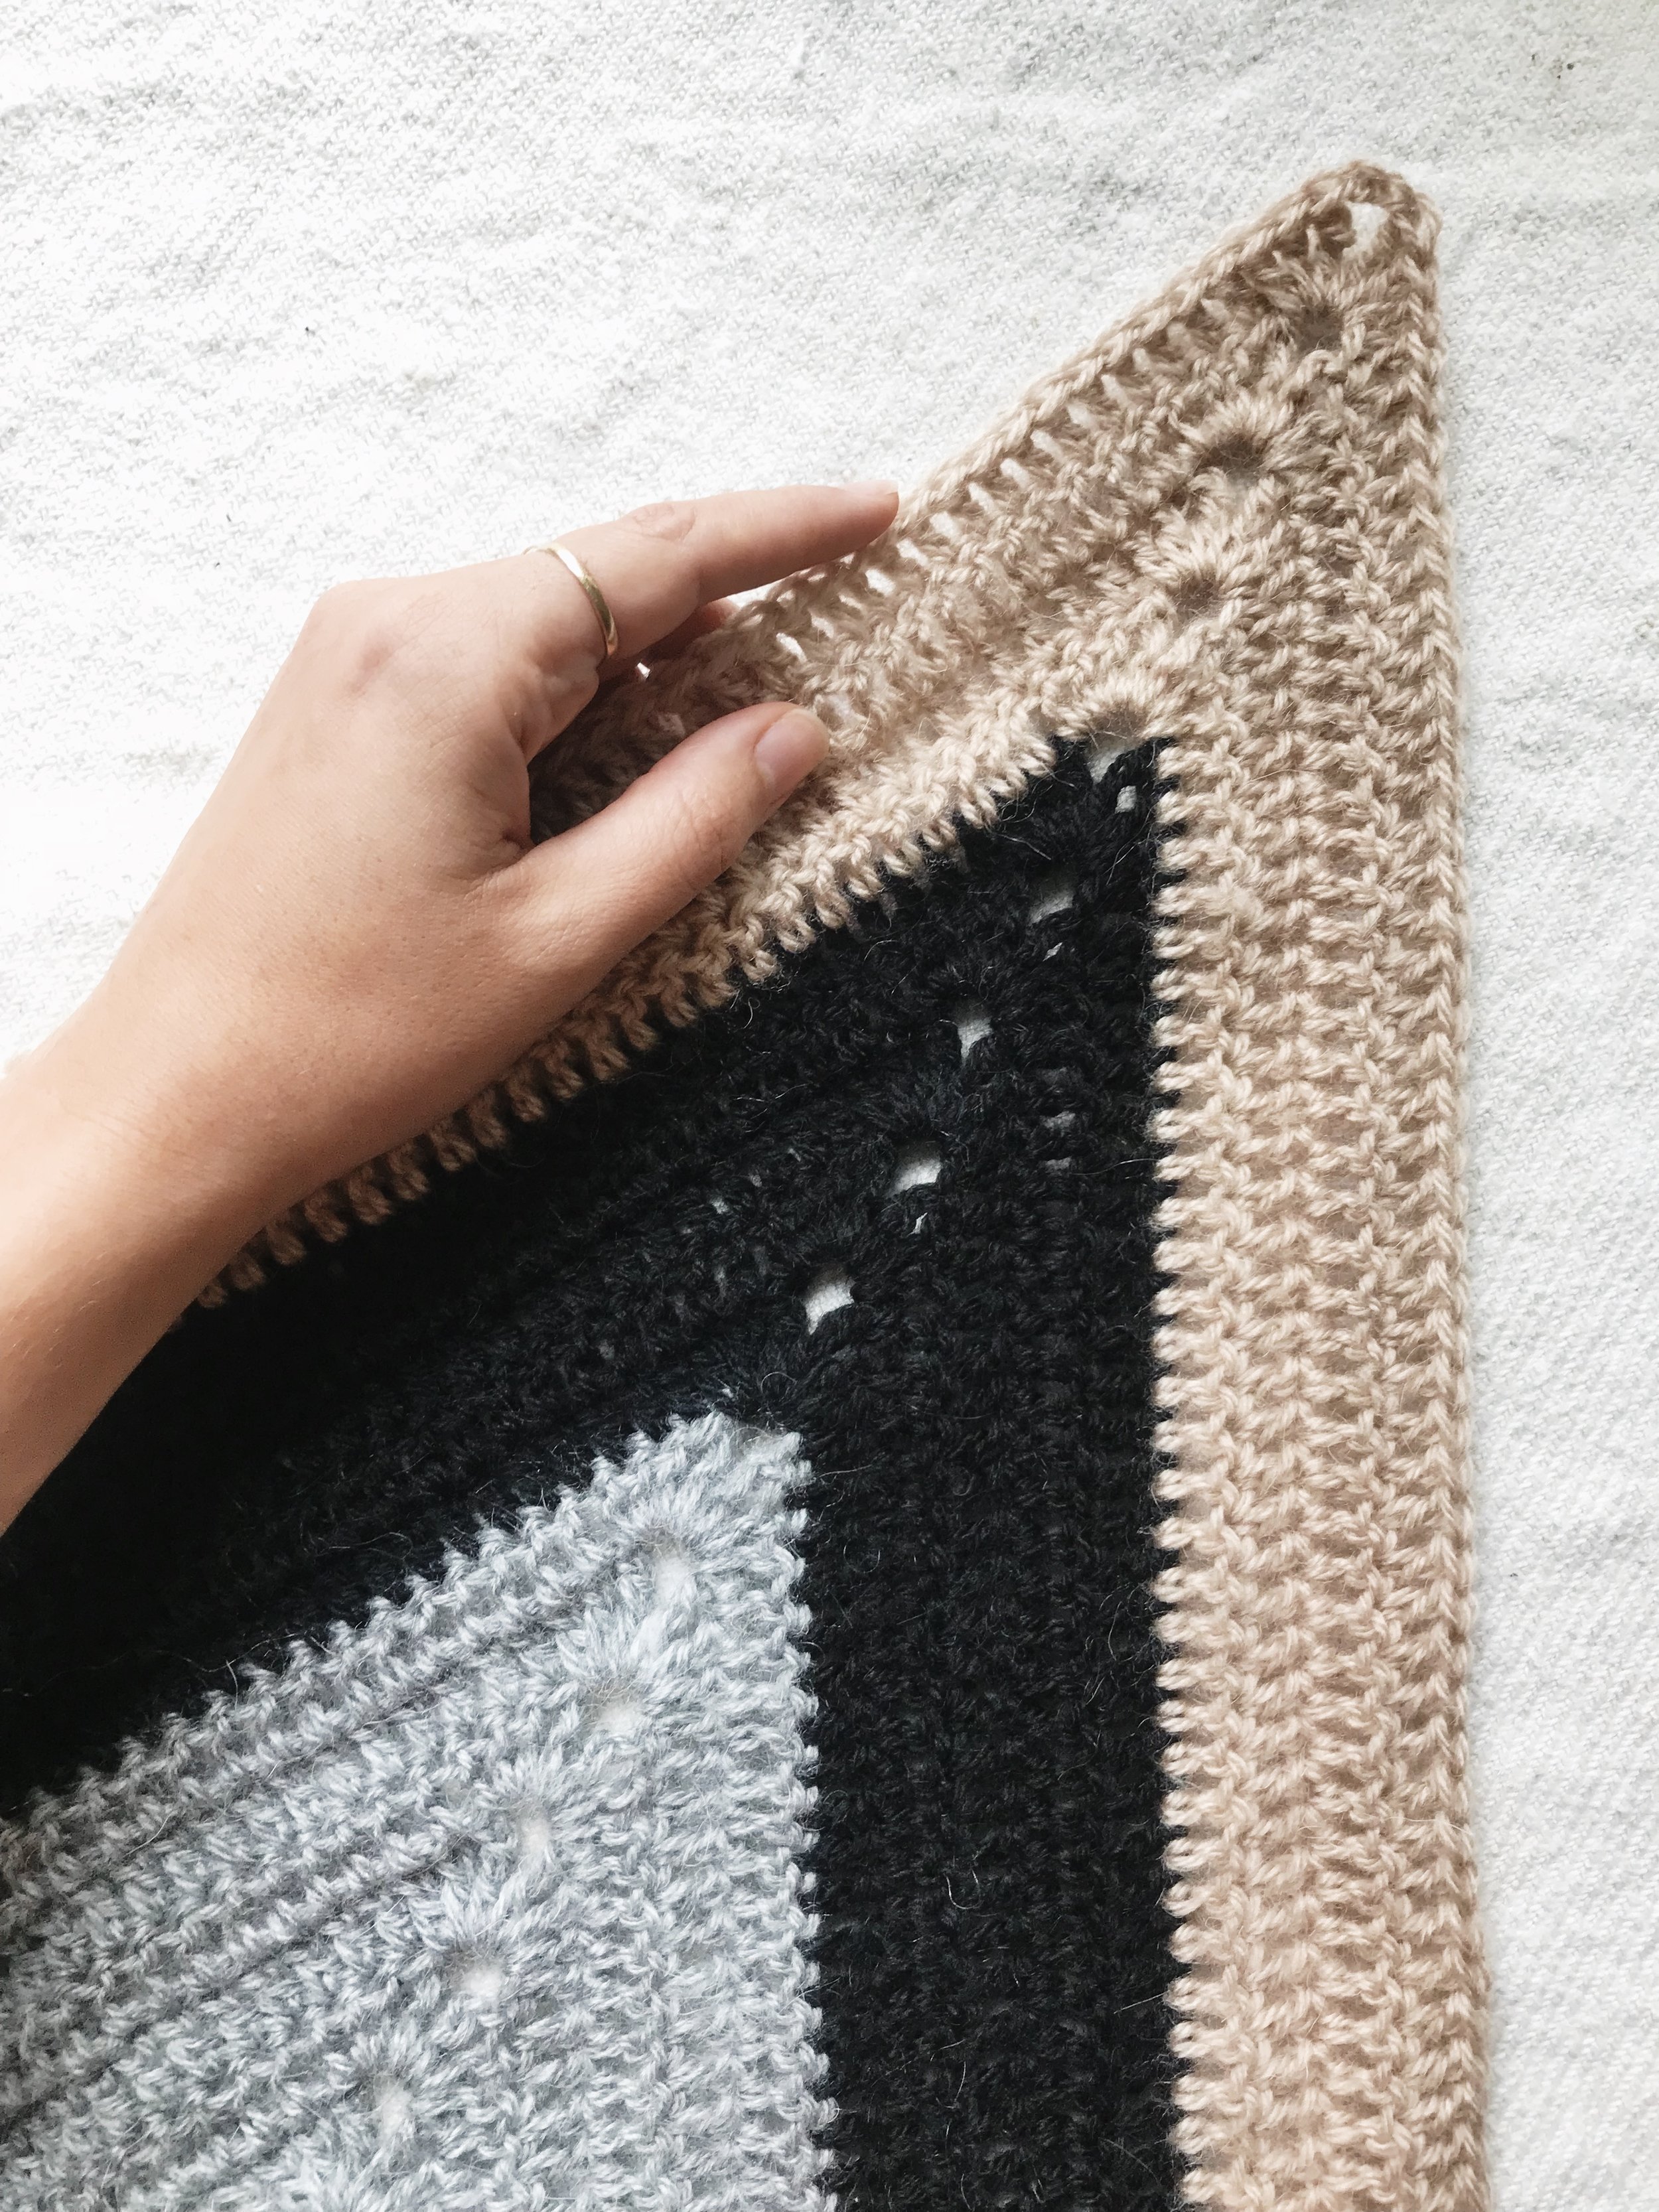
It wasn’t until I re-worked my Eastwick Wrap pattern with Touch of Mohair and fell in love with how weightless and soft it was that I had the idea to turn these diamonds and triangles into a wrap using that very yarn. I knew I wanted to use multiple colors to really show off the different shapes, and my love for neutrals is never ending so I chose the soft tones of Light Taupe and Oxford Grey and the deeply contrasting Black to give it sharp, pronounced lines.
I love the way the slivers of black enhance and highlight the shapes and give them depth. It creates a sleek elegance to the accessory and gives it a much stronger presence than if I went with all soft colors.
It’s rare that I design a wrap without tassels, and the Sliced Diamonds Wrap is no exception. The accent of the black tassels adds even more personality and glamour to this beauty. All of these elements dress up the wrap so that it can easily be worn over a little black dress but it’s not too fancy for a casual look either.
Due to the lightweight fabric created with the Touch of Mohair yarn, the Sliced Diamonds Wrap can also double as a scarf. It’s thin enough to bundle around your neck in a pinch. I imagine it being worn to a cocktail party with a little dress, first as a scarf with an evening jacket, and then as a wrap when the jacket comes off.
This is going to be a staple in my fall wardrobe, and I can’t wait to see the other color combos you all come up with. As long as there’s a striking contrast used in place of the black, there are so many colorways you could put together to make this baby shine.
I also think it would make the perfect travel companion due to the weightless factor and since the size of it makes a pretty excellent airplane or train single blanket, hint hint.
This is an easy level crochet pattern and the techniques involved are magic loop, double crochet, treble crochet, slip stitch, working into chain spaces, working flat and in the round, and seaming.
MATERIALS:
1 skein Lion Brand Touch of Mohair in Light Taupe (677-123) for Color A
1 skein Lion Brand Touch of Mohair in Black (677-153) for Color B
2 skeins Lion Brand Touch of Mohair in Oxford Grey (677-150) for Color C
Size US J/10 (6mm) crochet hook
Tapestry needle
FINISHED SIZE:
Width: 20”/51cm
Length: 78”/198cm
GAUGE:
15 sts + 8.5 rows = 4”/10cm in double crochet
ABBREVIATIONS:
*All Two of Wands patterns are written in standard US terms
Beg – beginning
Ch – chain
Ch sp – chain space
Dc – double crochet
Rep – repeat
Sl st – slip stitch
St(s) – stitch(es)
Tr – treble crochet
Note: Center diamond is working in joined rounds. Half and quarter diamonds are worked in back and forth rows. Each round of the center diamond increases by 16 sts, each row of the half diamonds increases by 8 sts, and each row of the quarter diamonds increases by 4 sts. Charts included after written instructions.
Center Diamond:
With color A, begin with a magic loop to create a center ring.
Round 1: Ch 4 (counts as 1 dc, ch 1 here and throughout), dc 2, tr, ch 2, tr, dc 2, ch 1, dc 2, tr, ch 2, tr, dc, sl st to 3rd ch of beg ch-4. (8 dc + 4 tr + 2 ch-2 sp + 2 ch-1 sp)
Round 2: Sl st into ch-1 sp, ch 4, dc into ch-1 sp, dc into each of next 3 sts, (dc 2, tr, ch 2, tr, dc 2) in ch-2 sp, dc into each of next 3 sts, (dc, ch 1, dc) in ch-1 sp, dc into each of next 3 sts, (dc 2, tr, ch 2, tr, dc 2) in ch-2 sp, dc into each of next 3 sts, sl st to 3rd ch of beg ch-4. (24 dc + 4 tr + 2 ch-2 sp + 2 ch-1 sp)
Round 3: Sl st into ch-1 sp, ch 4, dc into ch-1 sp, dc into each st to ch-2 sp, (dc 2, tr, ch 2, tr, dc 2) in ch-2 sp, dc into each st to ch-1 sp, (dc, ch 1, dc) in ch-1 sp, dc into each st to ch-2 sp, (dc 2, tr, ch 2, tr, dc 2) in ch-2 sp, dc into each st to ch-1 sp, sl st to 3rd ch of beg ch-4. (40 dc + 4 tr + 2 ch-2 sp + 2 ch-1 sp)
Rounds 4-8: Rep round 3. (120 dc + 4 tr + 2 ch-2 sp + 2 ch-1 sp)
Change to color B.
Rounds 9 and 10: Rep round 3. (152 dc + 4 tr + 2 ch-2 sp + 2 ch-1 sp)
Change to color C.
Rounds 11-15: Rep round 3. (232 dc + 4 tr + 2 ch-2 sp + 2 ch-1 sp)
Change to color B.
Round 16: Rep round 3. (248 dc + 4 tr + 2 ch-2 sp + 2 ch-1 sp)
Change to color C.
Rounds 17 and 18: Rep round 3. (280 dc + 4 tr + 2 ch-2 sp + 2 ch-1 sp)
Half Diamonds (make 2):
Note: turn at the end of each row.
With color C, begin with a magic loop to create a center ring.
Row 1: Ch 4 (counts as 1 dc, ch 1 here and throughout), dc 2, tr, ch 2, tr, dc 2, ch 1, dc 1. (6 dc + 2 tr + 1 ch-2 sp + 2 ch-1 sp)
Row 2: Ch 4, dc into ch-1 sp, dc into each of next 3 sts, (dc 2, tr, ch 2, tr, dc 2) in ch-2 sp, dc into each of next 3 sts, (dc, ch 1, dc) in ch-1 sp. (14 dc + 2 tr + 1 ch-2 sp + 2 ch-1 sp)
Row 3: Ch 4, dc into ch-1 sp, dc into each st to ch-2 sp, (dc 2, tr, ch 2, tr, dc 2) in ch-2 sp, dc into each st to ch-1 sp, (dc, ch 1, dc) in ch-1 sp. (22 dc + 2 tr + 1 ch-2 sp + 2 ch-1 sp)
Rows 4-9: Rep row 3. (70 dc + 2 tr + 1 ch-2 sp + 2 ch-1 sp)
Change to color B.
Rows 10-14: Rep row 3. (110 dc + 2 tr + 1 ch-2 sp + 2 ch-1 sp)
Change to color A.
Rows 15-18: Rep row 3. (142 dc + 2 tr + 1 ch-2 sp + 2 ch-1 sp)
Quarter Diamonds (make 4):
Note: turn at the end of each row.
With color B, begin with a magic loop to create a center ring.
Row 1: Ch 4 (counts as 1 dc, ch 1 here and throughout), dc 2, tr, ch 2, tr. (3 dc + 2 tr + 1 ch-2 sp + 1 ch-1 sp)
Row 2: Ch 6 (counts as 1 tr, ch 2 here and throughout), (tr, dc 2) in ch-2 sp, dc into each of next 3 sts, (dc, ch 1, dc) in ch-1 sp. (7 dc + 2 tr + 1 ch-2 sp + 1 ch-1 sp)
Row 3: Ch 4, dc into ch-1 sp, dc into each st to ch-2 sp, (dc 2, tr, ch 2, tr) in ch-2 sp. (11 dc + 2 tr + 1 ch-2 sp + 1 ch-1 sp)
Row 4: Ch 6, (tr, dc 2) in ch-2 sp, dc into each st to ch-1 sp, (dc, ch 1, dc) in ch-1 sp. (15 dc + 2 tr + 1 ch-2 sp + 1 ch-1 sp)
Rows 5 and 6: Rep rows 3 and 4. (23 dc + 2 tr + 1 ch-2 sp + 1 ch-1 sp)
Change to color C.
Rows 7 and 8: Rep rows 3 and 4. (31 dc + 2 tr + 1 ch-2 sp + 1 ch-1 sp)
Change to color B.
Rows 9 and 10: Rep rows 3 and 4. (39 dc + 2 tr + 1 ch-2 sp + 1 ch-1 sp)
Change to color A.
Rows 11-14: Rep rows 3 and 4. (55 dc + 2 tr + 1 ch-2 sp + 1 ch-1 sp)
Change to color B.
Row 15: Rep row 3. (59 dc + 2 tr + 1 ch-2 sp + 1 ch-1 sp)
Change to color C.
Row 16: Rep row 4. (63 dc + 2 tr + 1 ch-2 sp + 1 ch-1 sp)
Rows 17 and 18: Rep rows 3 and 4. (71 dc + 2 tr + 1 ch-2 sp + 1 ch-1 sp)
Construction:
Using schematic below as a guide, seam all pieces together.
Tassels:
Cut one hundred 12”/30.5cm lengths and four 18”/46cm lengths of color B. Divide the 12”/ 30.5cm lengths into 2 groups of 50.
Tie each bundle at the middle point with one of the 18”/46cm lengths. Fold each bundle in half so that the tie is at the tip of the loop created with the fold.
Tie crosswise around each folded bundle about 1⁄2”/1.25cm below top of fold with remaining 18”/ 46cm lengths. Wrap the tails of the ties around and around the bundles and then thread them inside and down the middle of the bundles with a tapestry needle.
Tie the tops of the tassels onto the 2 end tips of the wrap. Thread the tails inside and down the middle of the tassels using a tapestry needle. Trim tassels to desired length.
Purchase the printable, ad-free pattern here.
Purchase the kit from Lion Brand Yarn here.
Don't forget to share your projects made using Two of Wands patterns on Instagram with the hashtag #crewofwands so your post will get featured on my site and you'll be in the running for monthly pattern giveaways!
Check out the #crewofwands community page here.
The pattern and photographs of this design are the property of Two of Wands. This pattern and design are subject to copyright, and are for personal, non-commercial use only. You may not distribute or sell this pattern or any items created using the directions in this pattern without consent. Please visit my policies for more information.


